I use multiple computers and multiple mobile devices. This is mostly because I like keeping my personal devices/accounts separated from my work-related things, also … company policy. The last 4 years I am using an apple macbook, it’s a managed and restricted device. With managed devices, a lot of features like virtualization, containers or even VPN, anything that has network access and many other functionality were restricted. Recently I got a replacement macbook, thanks to our IT, and now for the first time I can use my old device as an unmanaged macbook.
Oh, I missed a lot!

Tart
To start my journey, I want to quickly spawn virtual machines (mostly ubuntu server) to test/run self hosted applications. I found Tart Virtualization to be excellent for this.
Tart is a virtualization toolset to build, run and manage macOS and Linux virtual machines on Apple Silicon.
To install and use tart is extremely easy:
brew install cirruslabs/cli/tart
tart clone ghcr.io/cirruslabs/macos-tahoe-base:latest tahoe-base
tart run tahoe-base

Ubuntu virtual machine
is very easy to setup an ubuntu virtual machine with tart, as an ubuntu image already exist
tart clone ghcr.io/cirruslabs/ubuntu:24.04 ubuntu
tart set ubuntu --disk-size 20
tart run ubuntu
and the default credentials are:
Username: admin
Password: admin
caveat: Change them if you are going to use them in production.

We can also change the default values
like cpu and/or memory settings, as disk size above
❯ tart set ubuntu --memory 8192
❯ tart set ubuntu --cpu 4

We can start the VM without graphics
❯ tart run ubuntu --no-graphics &
Is this vm running ?
✦ ❯ tart list | grep -i ubuntu
local ubuntu 20 3 6 seconds ago running
OCI ghcr.io/cirruslabs/ubuntu:24.04 20 5 14 hours ago stopped
OCI ghcr.io/cirruslabs/ubuntu@sha256:9e71b46... 20 5 14 hours ago stopped
We can find the IP of the virtual machine
✦ ❯ tart ip ubuntu
192.168.64.2
… and we can ssh into the VM
✦ ❯ ssh admin@$(tart ip ubuntu)
admin@192.168.64.2's password:

We can even add it to our tailscale network
I guess you already know how to add machines to your tailnet

and don’t forget to stop or delete your VMs if you do not need them
tart stop ubuntu
tart delete ubuntu
It works !
Evaggelos
The purpose of this blog post is to act as a visual guide/tutorial on how to setup an iOS device (iPad or iPhone) using the native apps against a custom Linux Mail, Calendar & Contact server.
Disclaimer: I wrote this blog post after 36hours with an apple device. I have never had any previous encagement with an apple product. Huge culture change & learning curve. Be aware, that the below notes may not apply to your setup.
Original creation date: Friday 12 Oct 2018
Last Update: Sunday 18 Nov 2018
Linux Mail Server
Notes are based on the below setup:
- CentOS 6.10
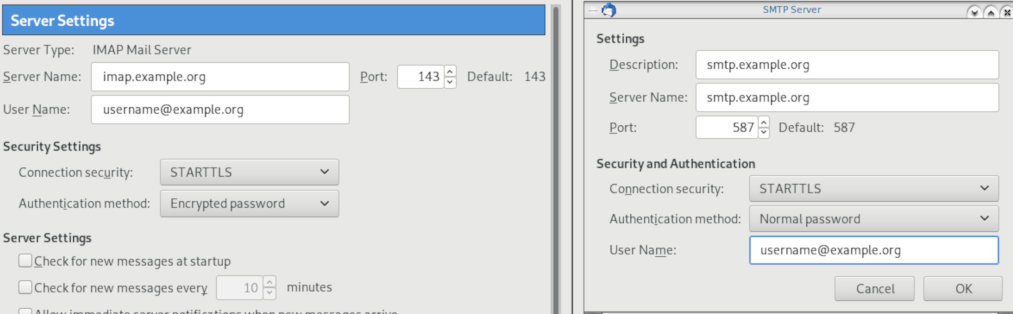
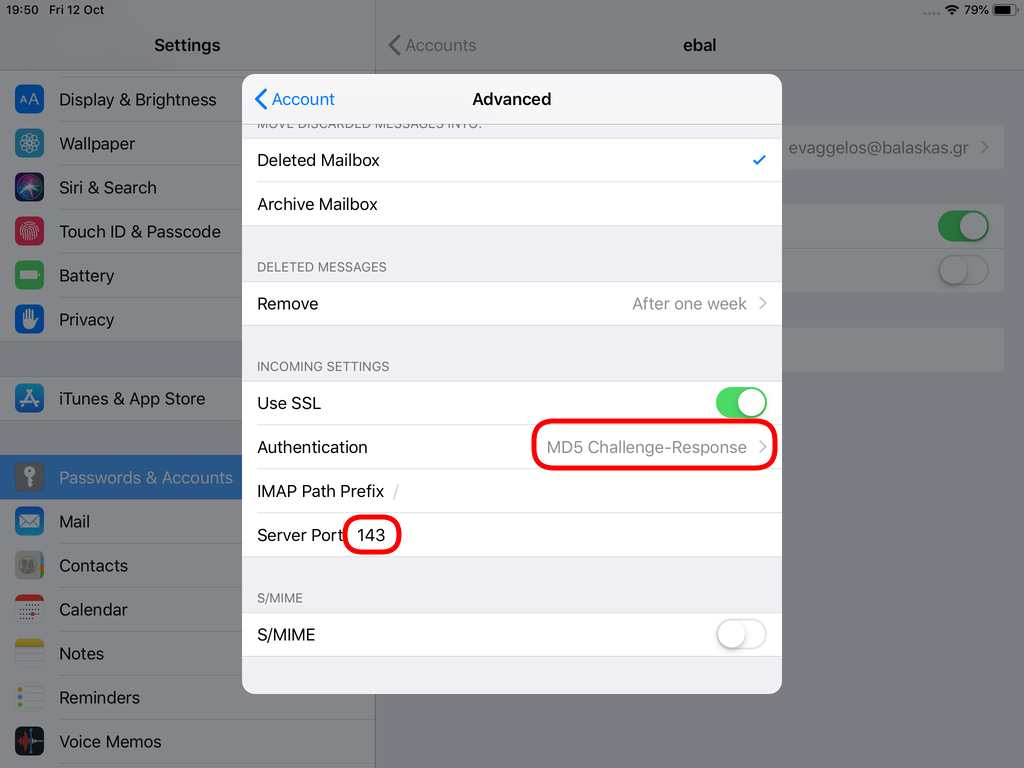
- Dovecot IMAP server with STARTTLS (TCP Port: 143) with Encrypted Password Authentication.
- Postfix SMTP with STARTTLS (TCP Port: 587) with Encrypted Password Authentication.
- Baïkal as Calendar & Contact server.
Thunderbird
Thunderbird settings for imap / smtp over STARTTLS and encrypted authentication
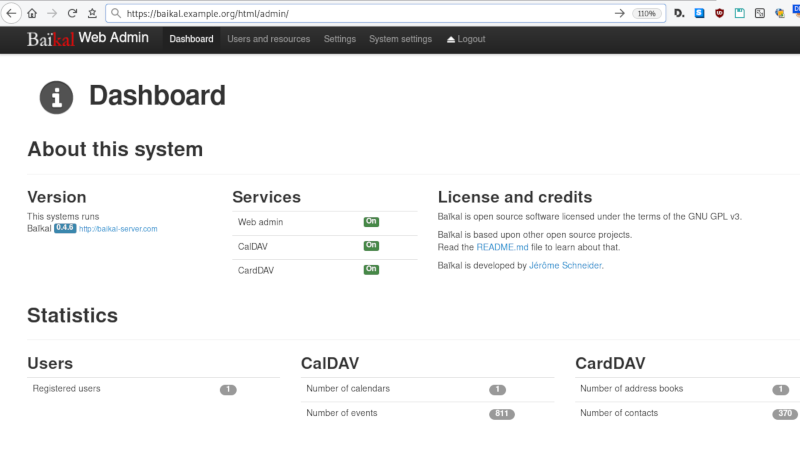
Baikal
Dashboard

CardDAV
contact URI for user Username
https://baikal.baikal.example.org/html/card.php/addressbooks/Username/default
CalDAV
calendar URI for user Username
https://baikal.example.org/html/cal.php/calendars/Username/default
iOS
There is a lot of online documentation but none in one place. Random Stack Overflow articles & posts in the internet. It took me almost an entire day (and night) to figure things out. In the end, I enabled debug mode on my dovecot/postifx & apache web server. After that, throught trail and error, I managed to setup both iPhone & iPad using only native apps.
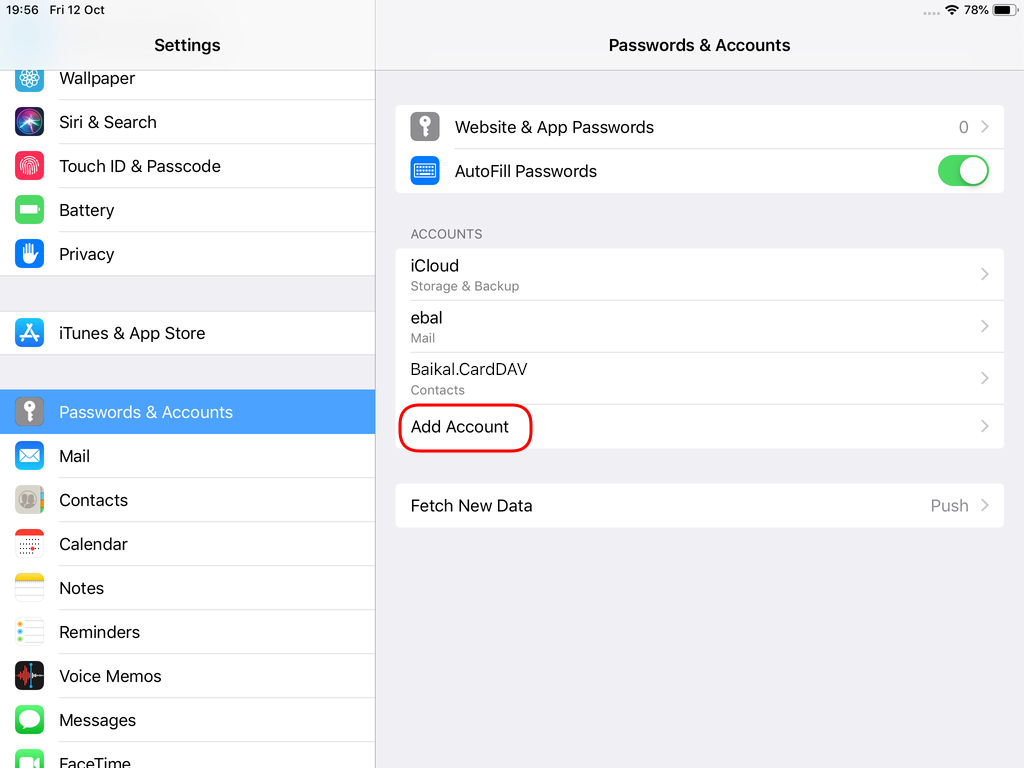
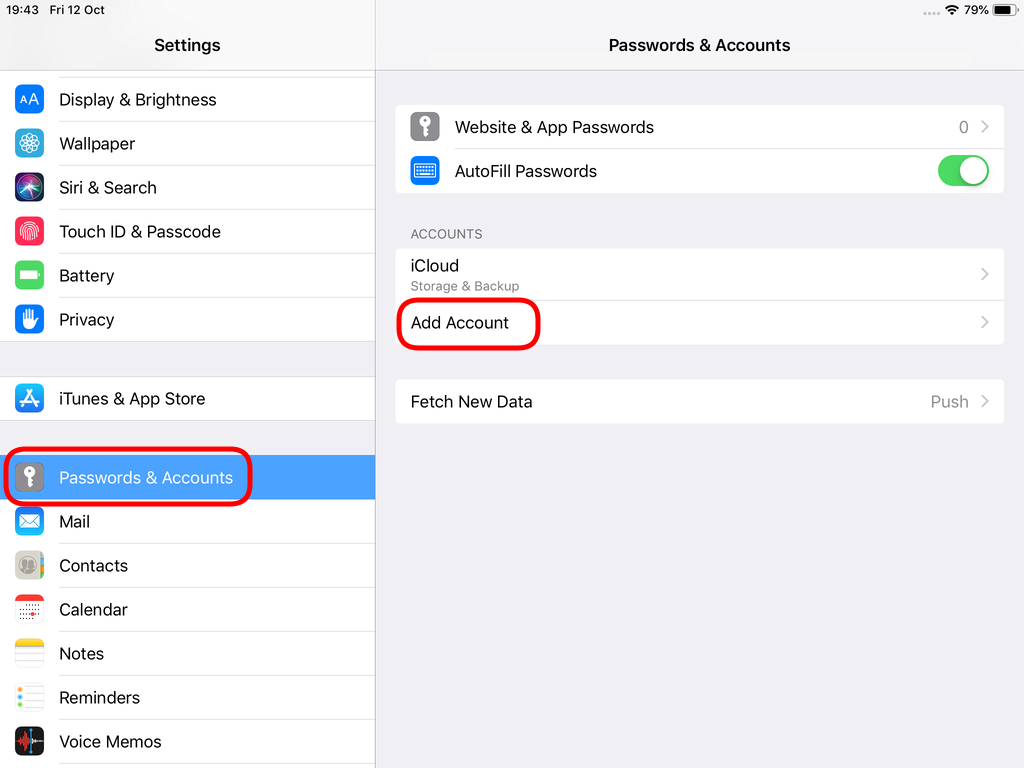
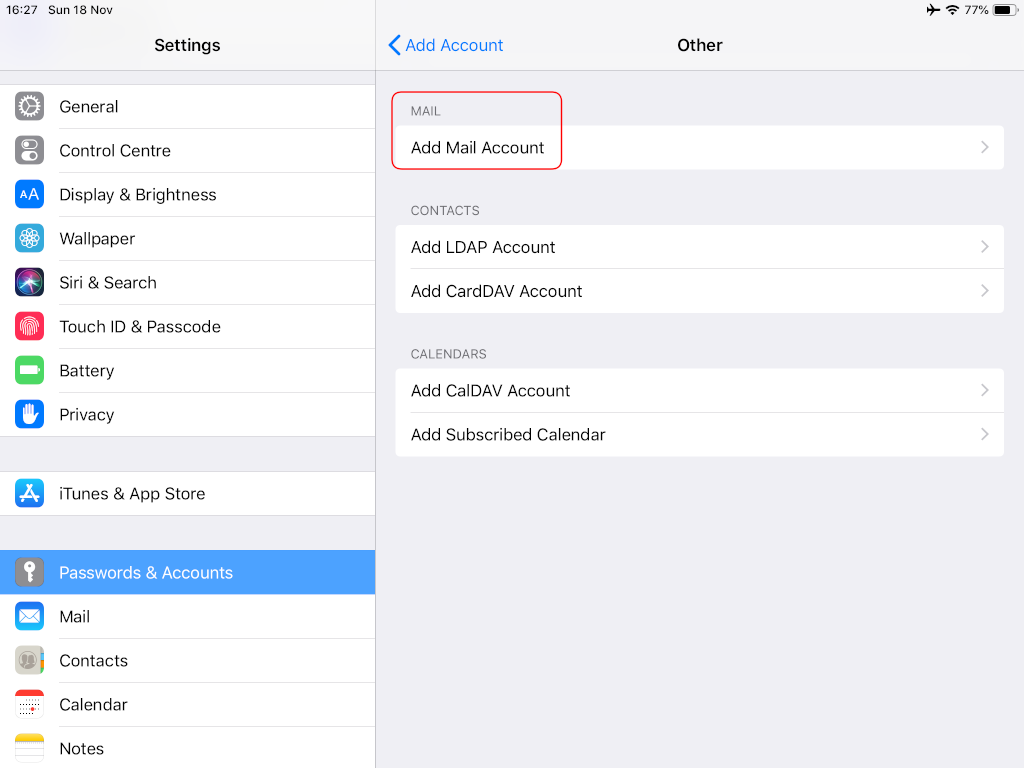
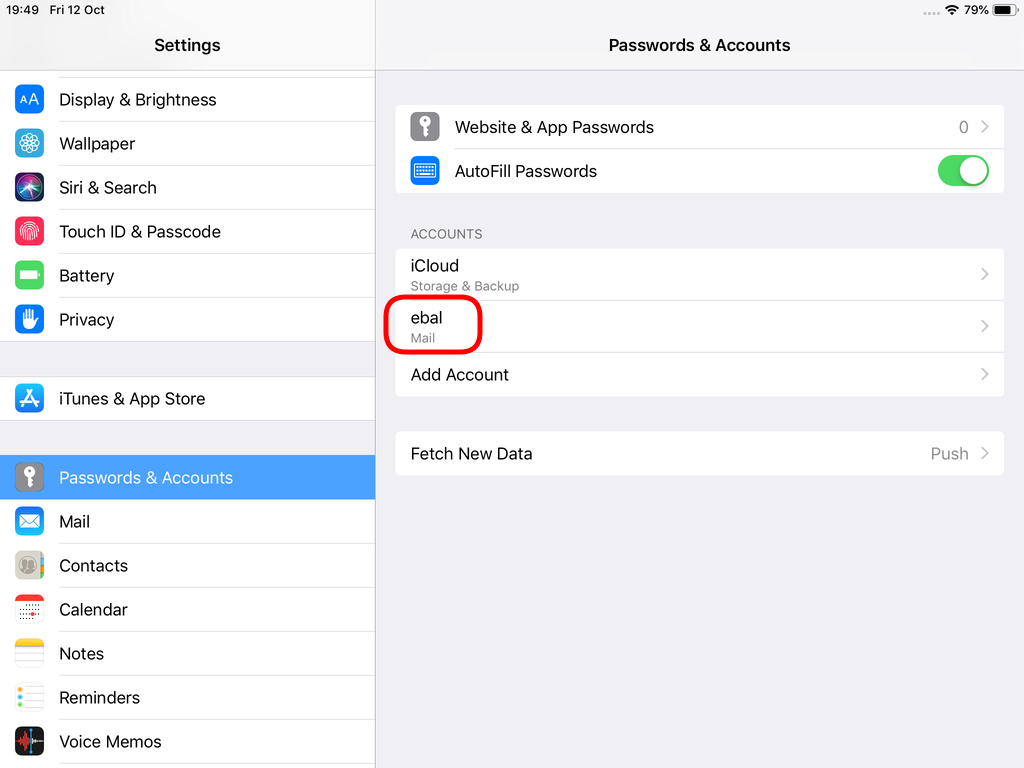
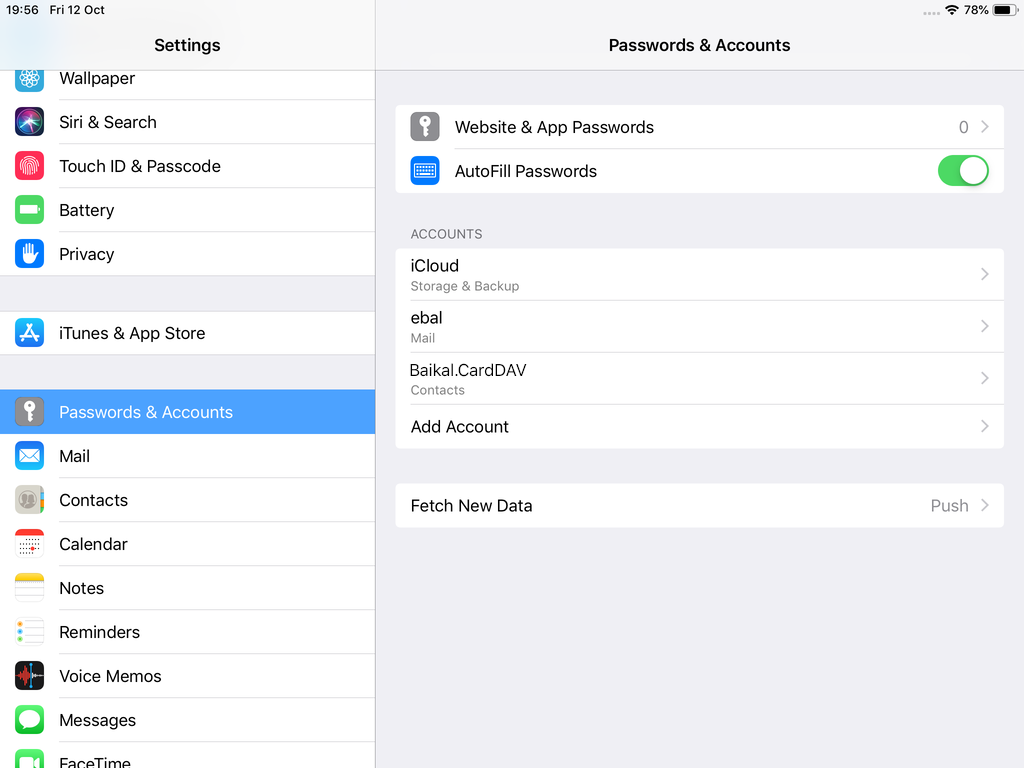
Open Password & Accounts & click on New Account
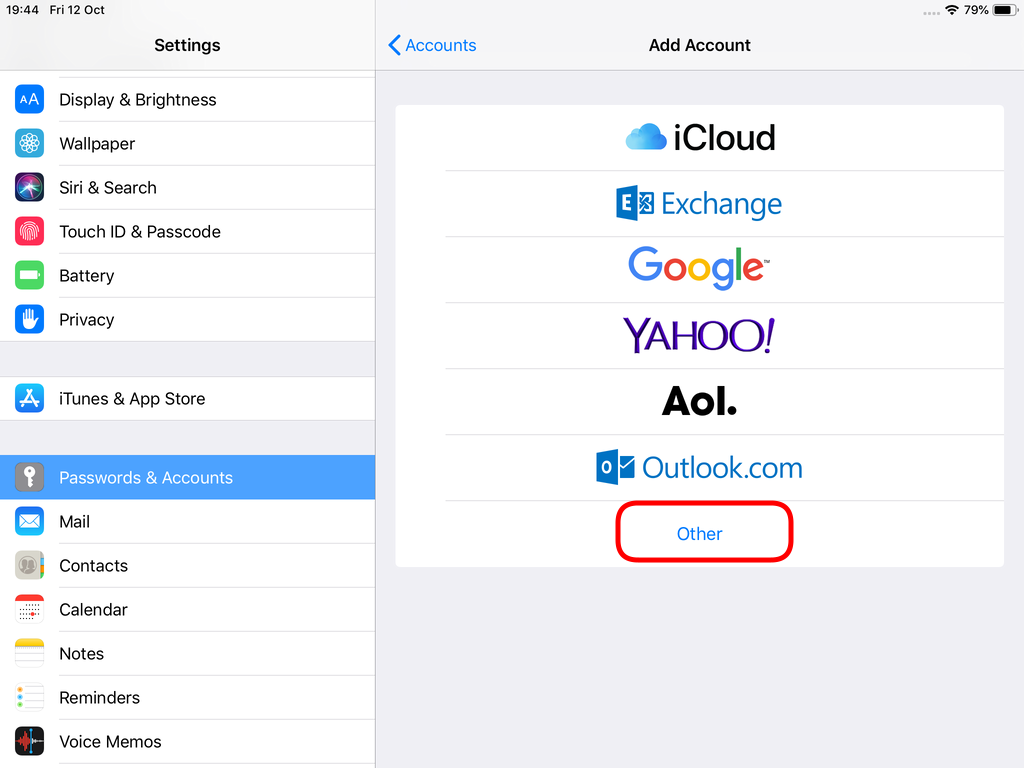
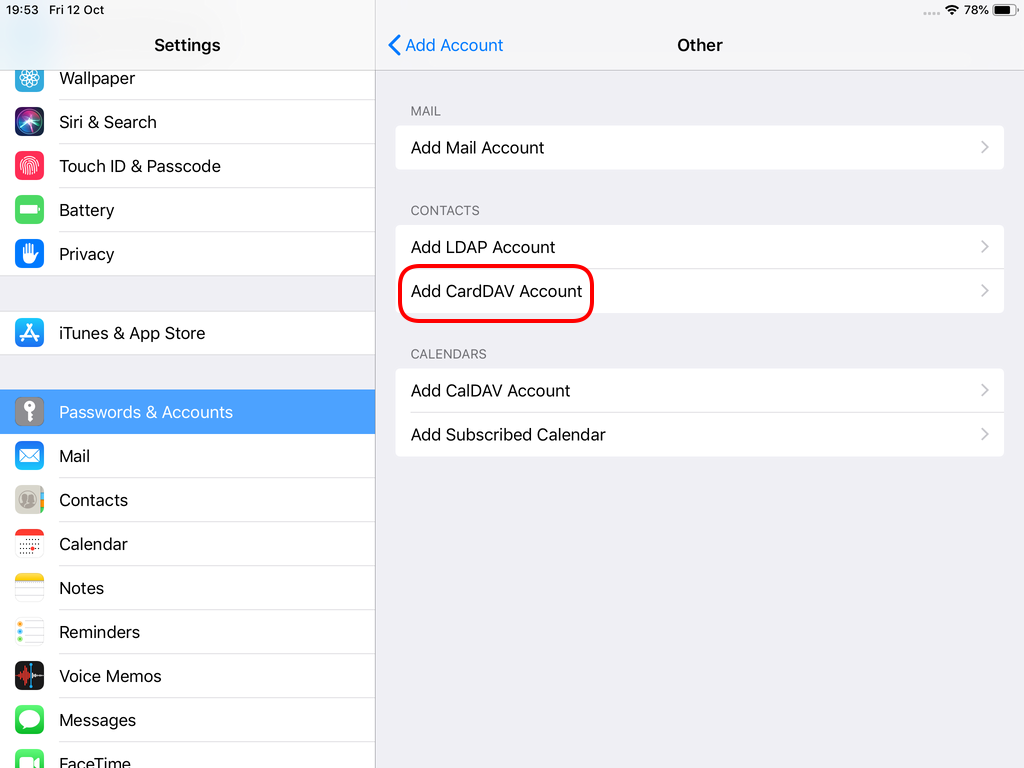
Choose Other


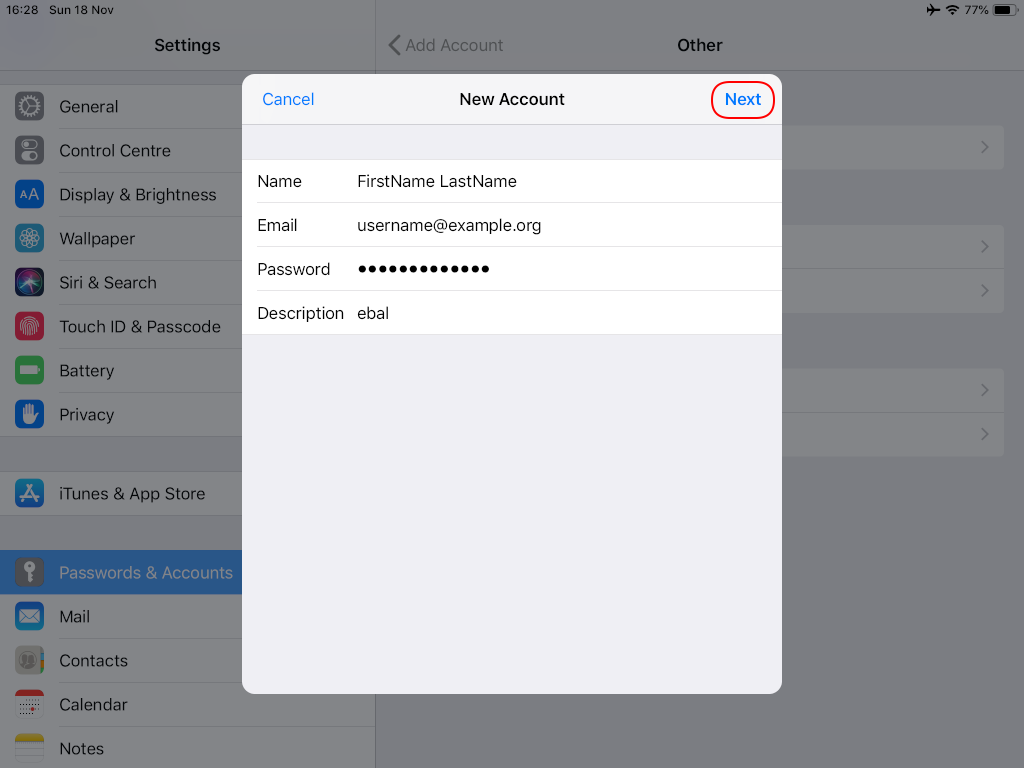
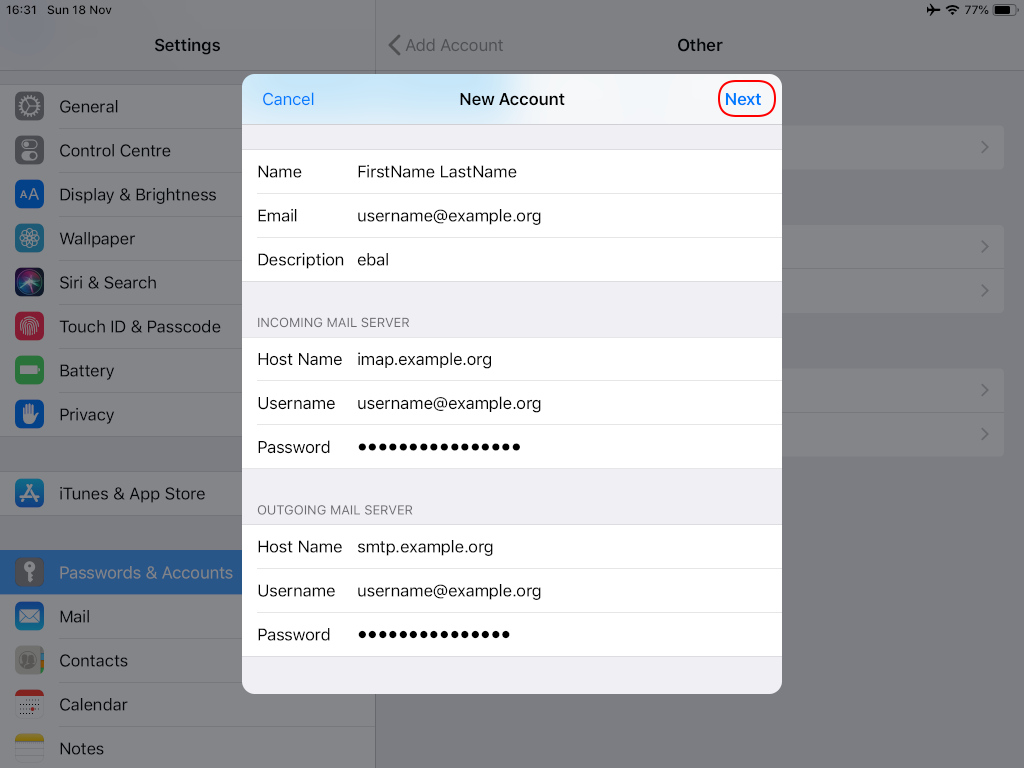
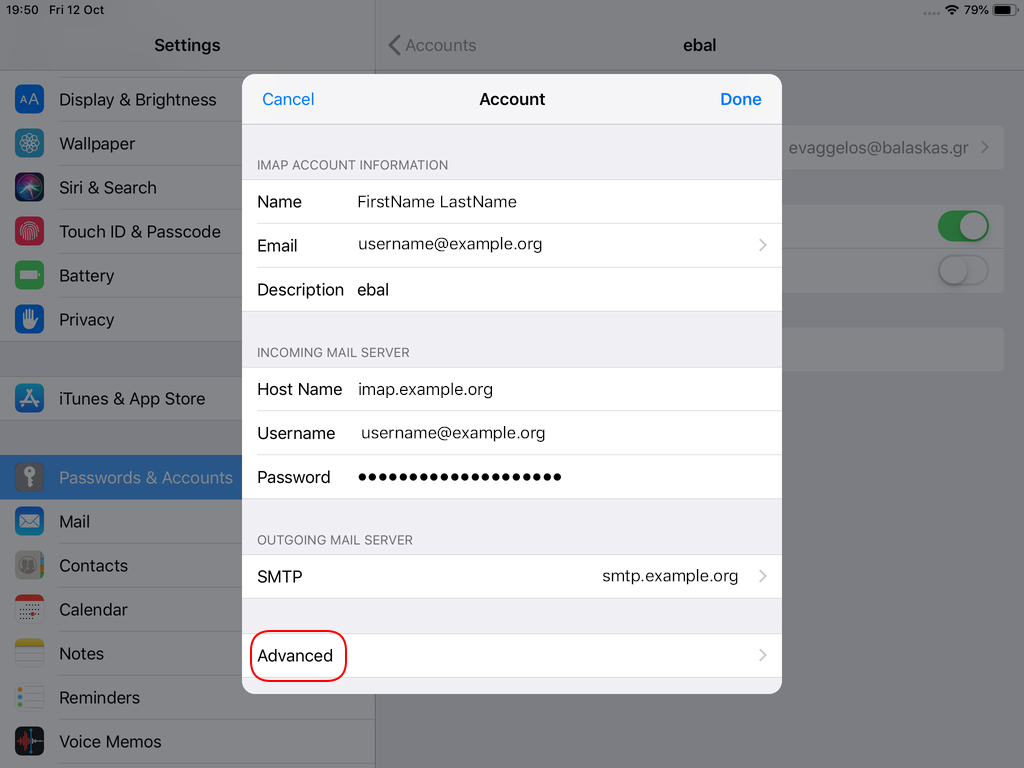
Now the tricky part, you have to click Next and fill the imap & smtp settings.


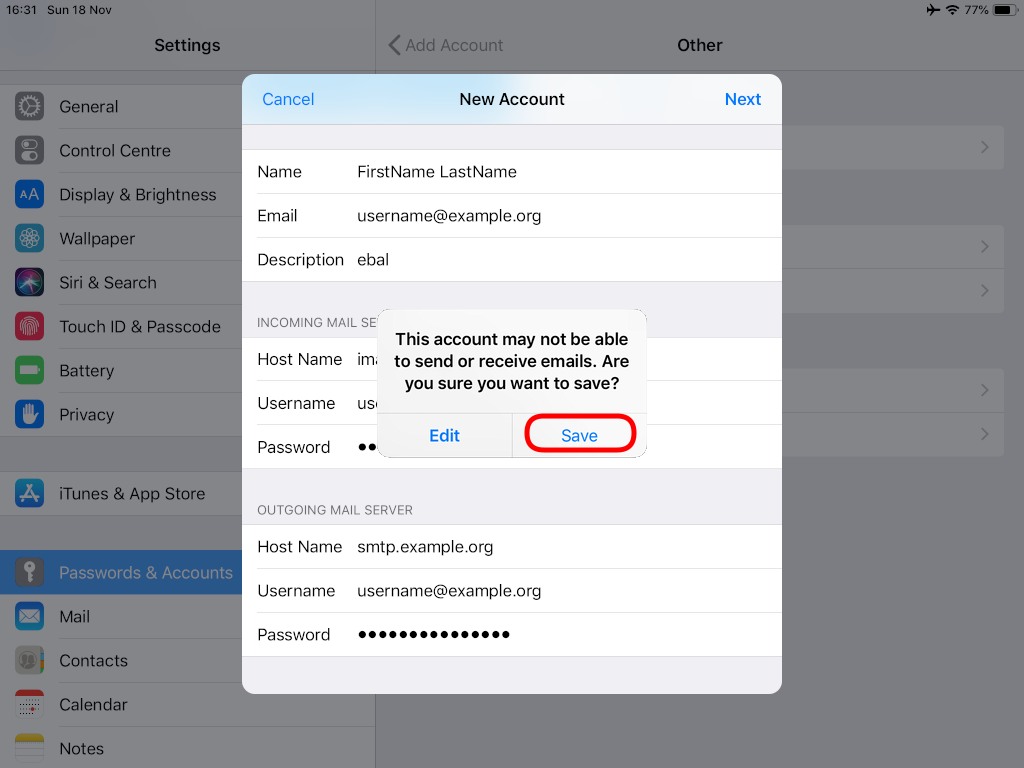
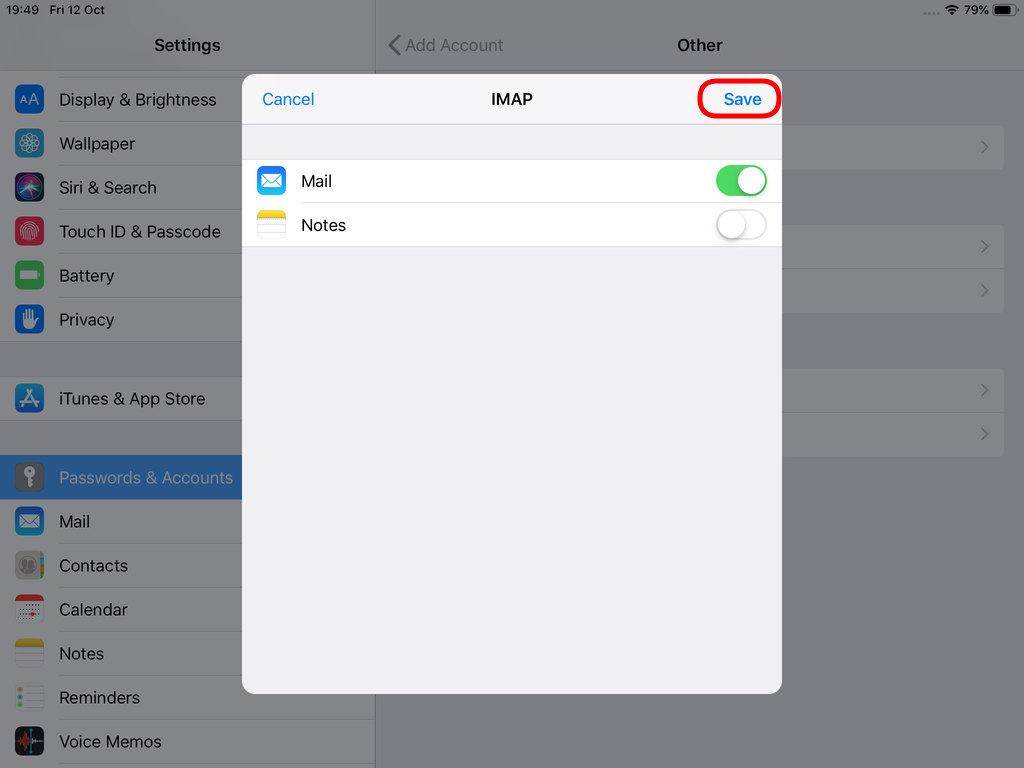
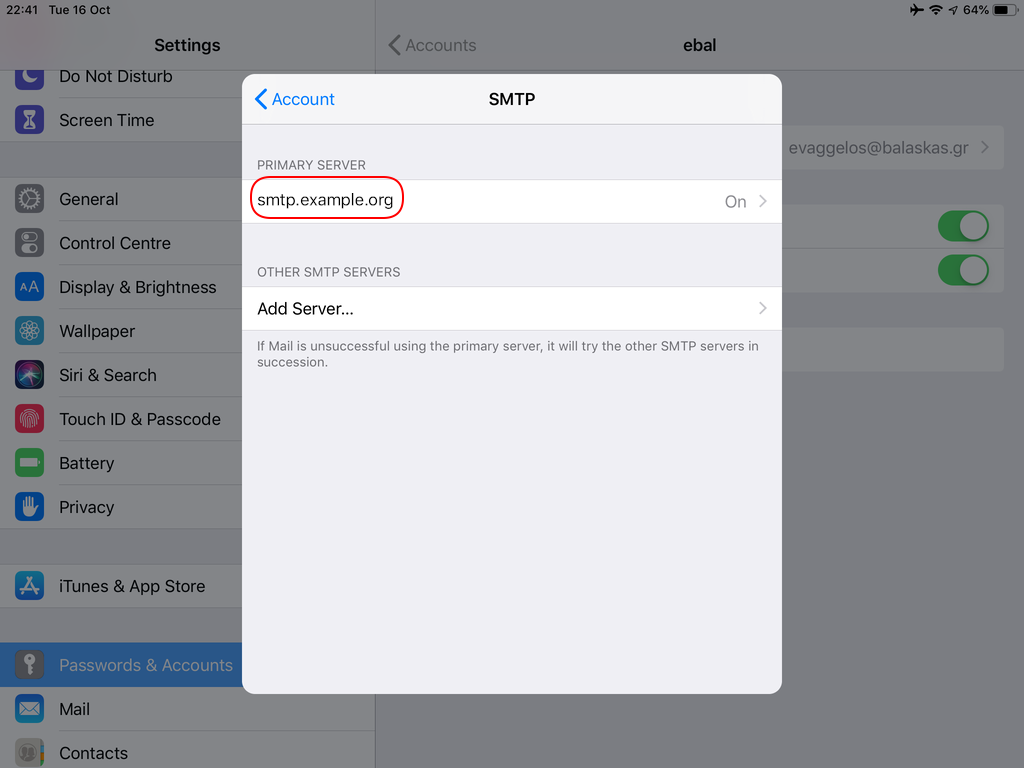
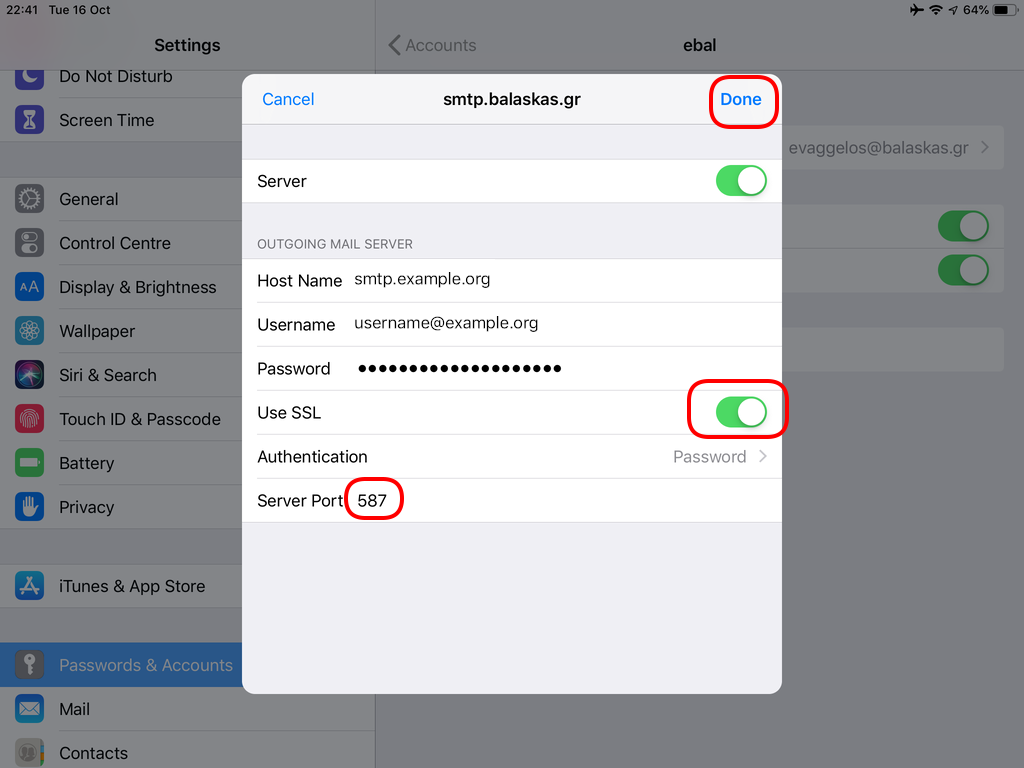
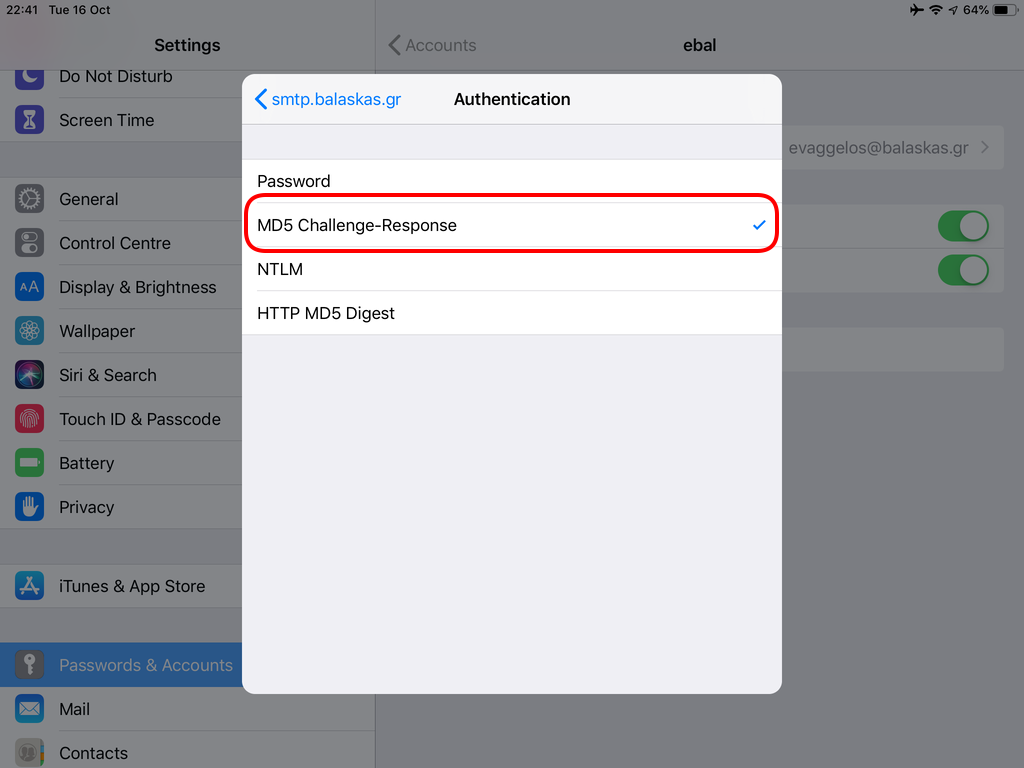
Now we have to go back and change the settings, to enable STARTTLS and encrypted password authentication.


STARTTLS with Encrypted Passwords for Authentication


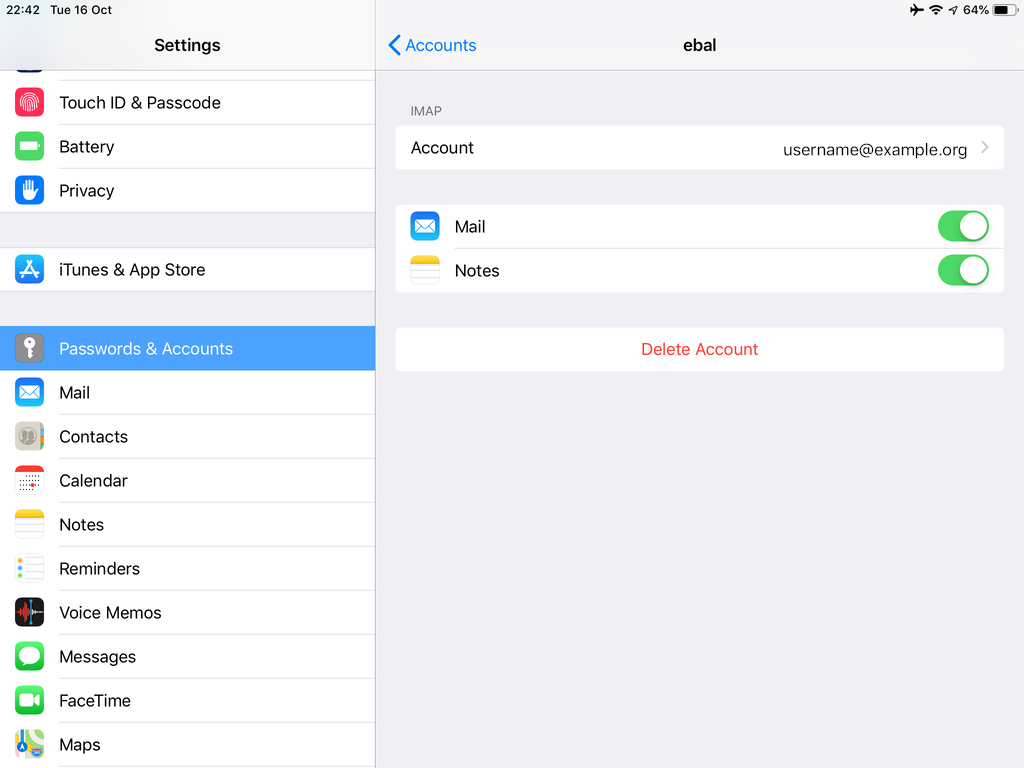
In the home-page of the iPad/iPhone we will see the Mail-Notifications have already fetch some headers.

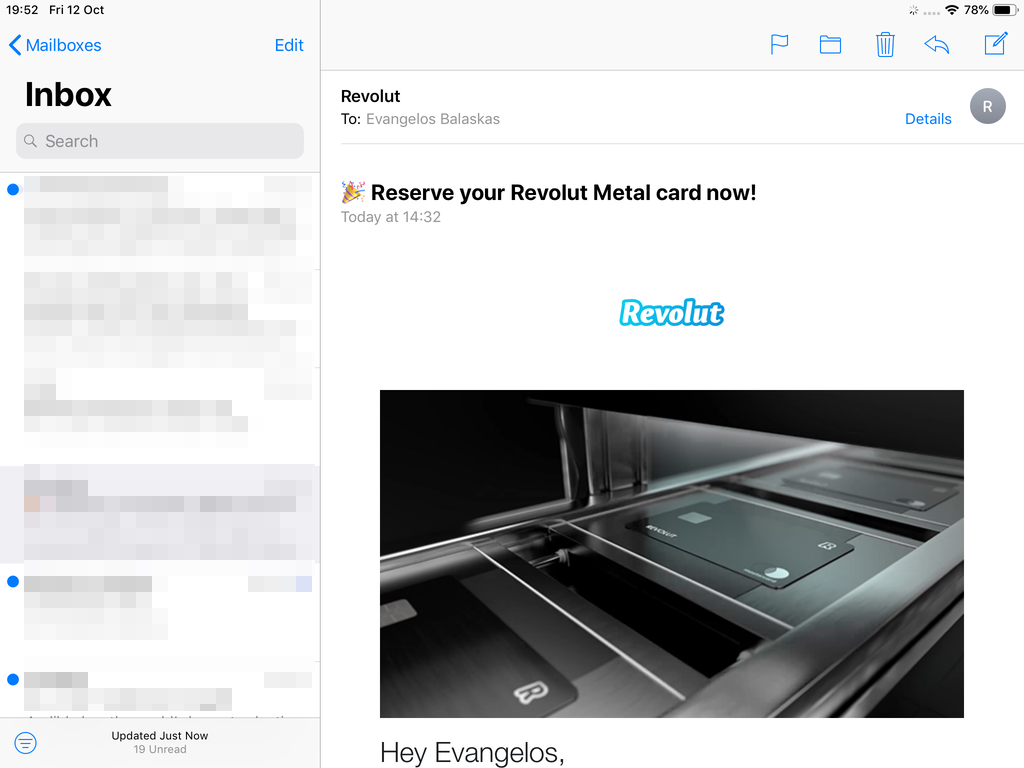
and finally, open the native mail app:
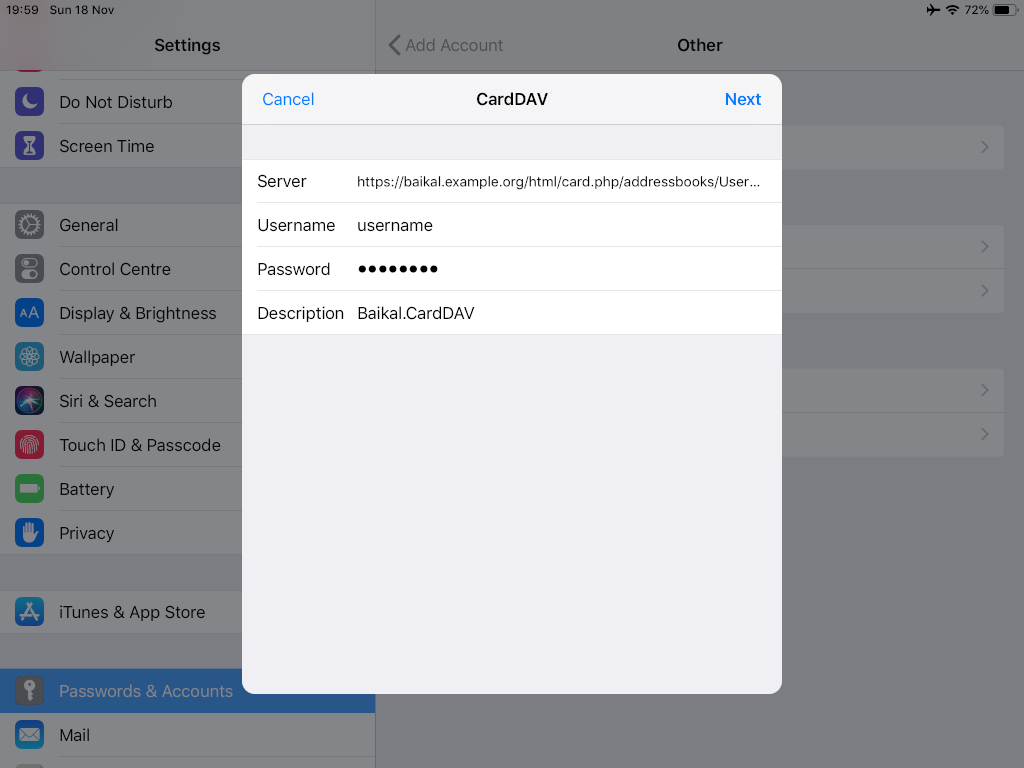
Contact Server
Now ready for setting up the contact account
https://baikal.baikal.example.org/html/card.php/addressbooks/Username/default


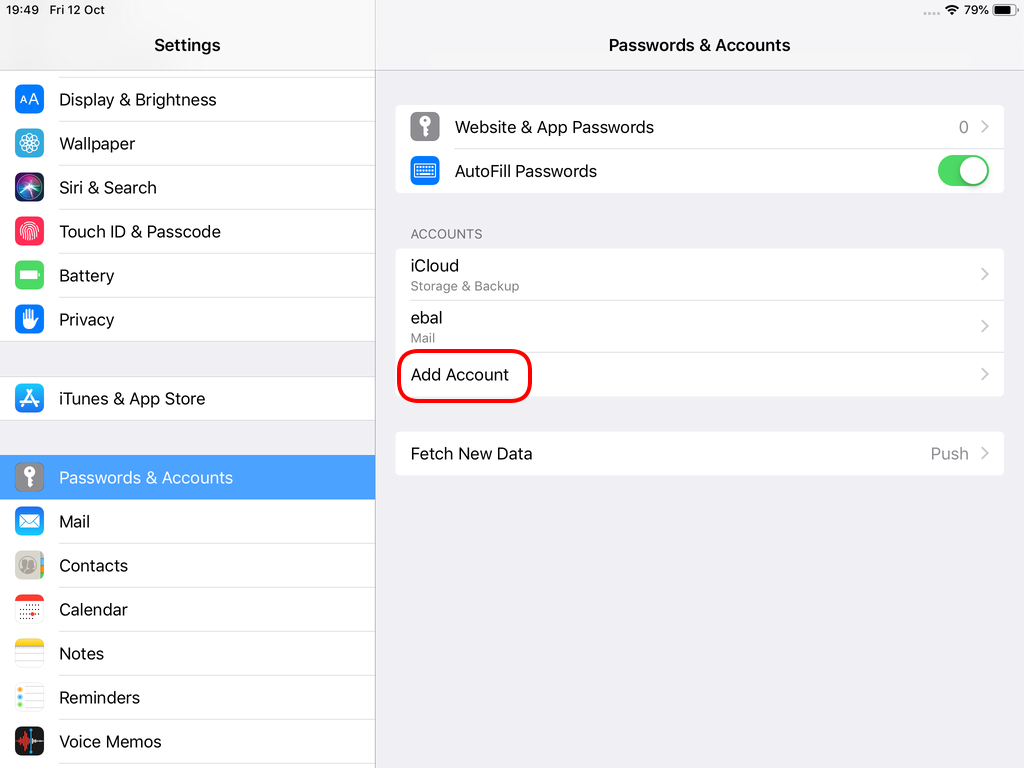
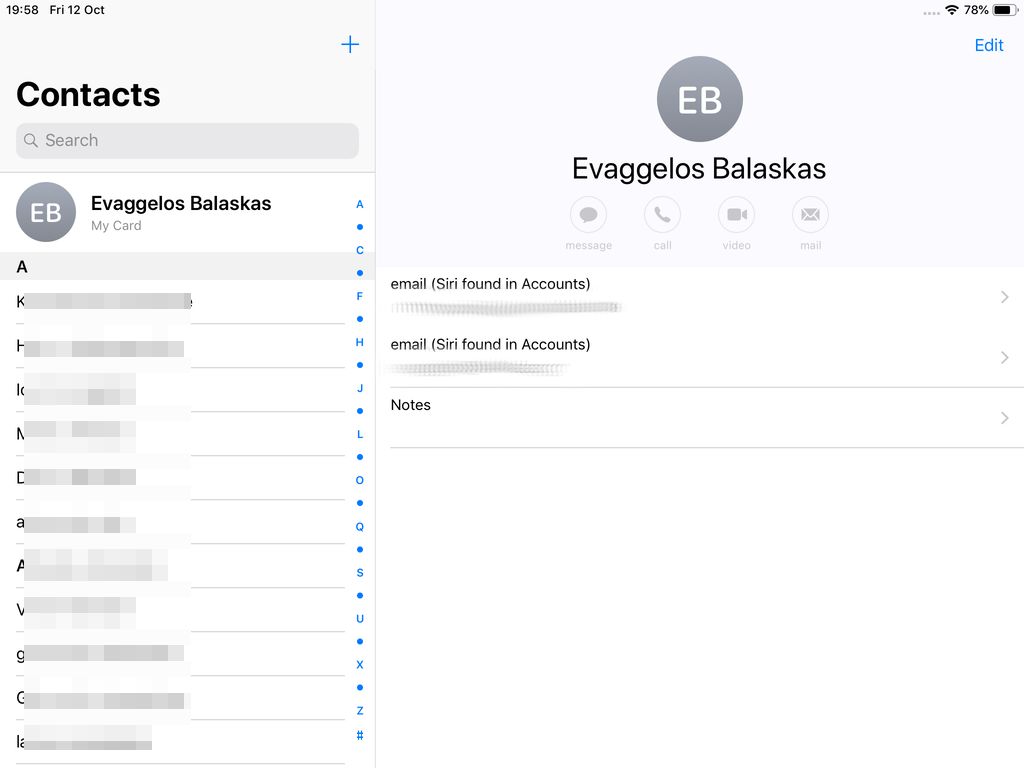
Opening Contact App:
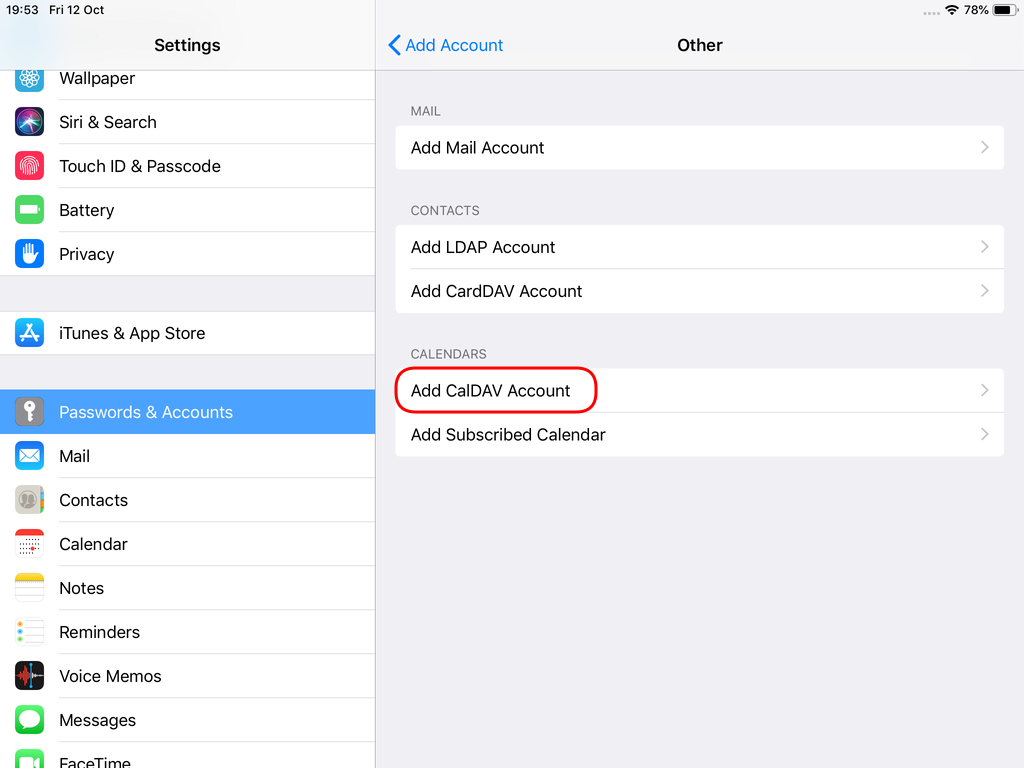
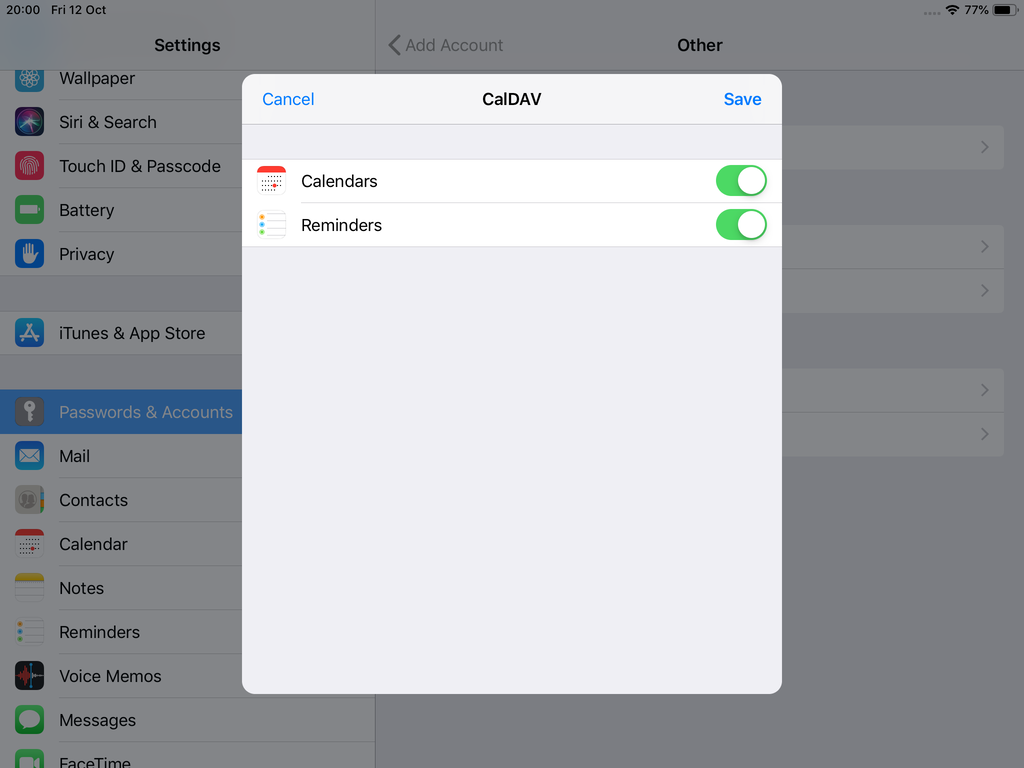
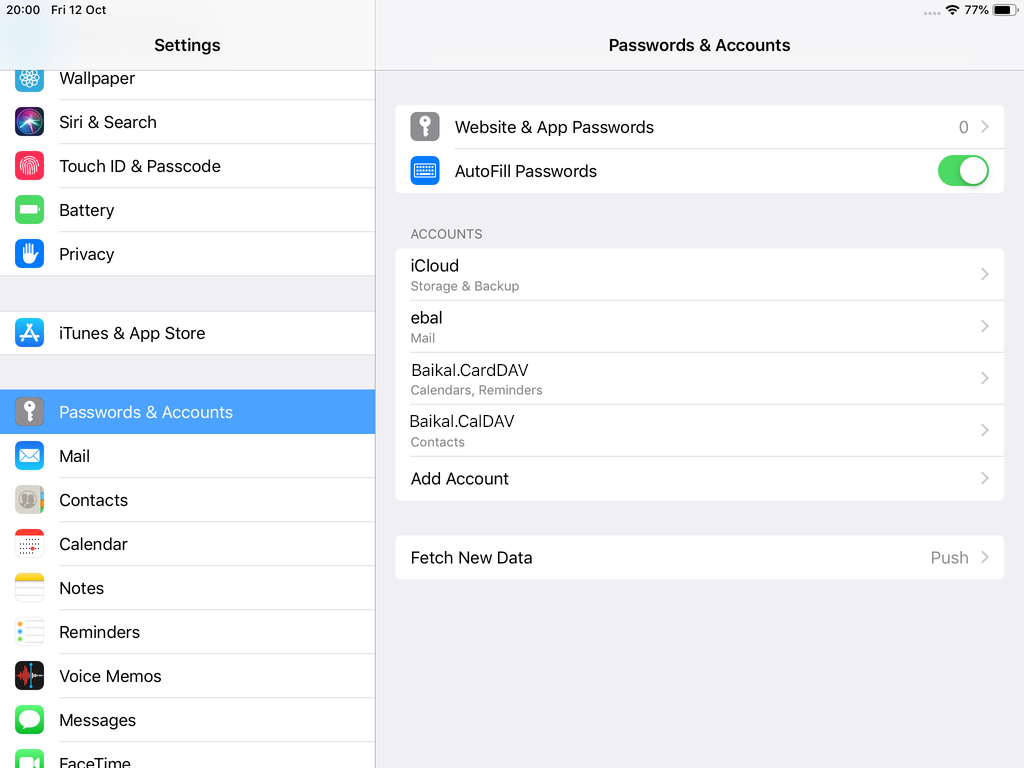
Calendar Server
https://baikal.example.org/html/cal.php/calendars/Username/default


