





Containers is an package application with all the files, libraries, and runtime it needs. They are a common way to develop, test, and deploy server software, most known are docker containers at the moment and in macOS the two most common tools: Docker desktop and OrbStack.
Apple’s container tool takes a different approach: it creates and runs Linux containers using lightweight virtual machines on Apple silicon Macs. It works with OCI-compatible images, so you can pull images from standard registries and build images that can run in other OCI-compatible tools.
This guide walks through installing container, starting the system service, running an Ubuntu shell, and building a simple “Hello, world” web server.
What you need
- A Mac with Apple silicon: M1, M2, M3, M4, or newer
- macOS 26
- Administrator access to install the tool
Apple supports container on macOS 26 because it depends on newer virtualization and networking features. Older macOS versions may work for some workflows, but they are not officially supported. Command availability can also vary by macOS version.
Install container
Download the latest signed installer from the Apple container GitHub releases page:
https://github.com/apple/container/releases
Open the .pkg file and follow the installer prompts.
follow the below instracturions
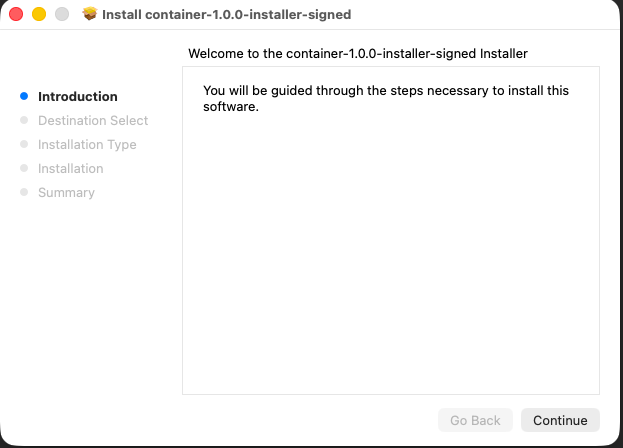
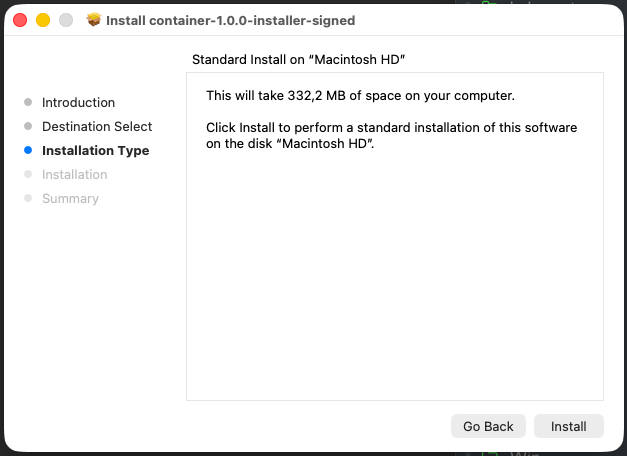
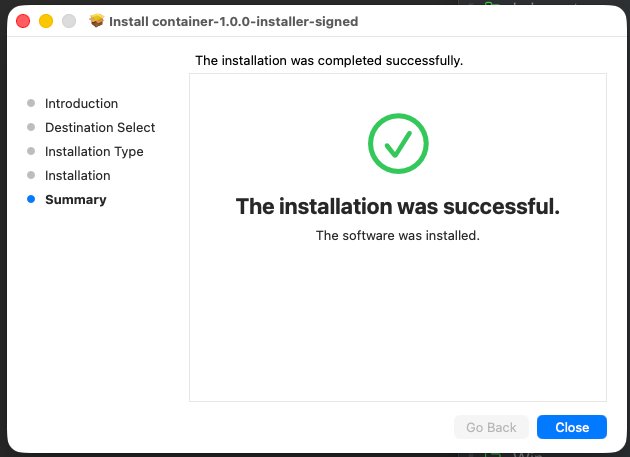
After installation, open Terminal and start the system service:
container system startThe first time you run this command, container may ask whether you want to install a recommended Linux kernel. Type y and press Enter.
Example output:
❯ container system start

Launching container-apiserver...
Testing access to container-apiserver...
Verifying machine API server is running...
No default kernel configured.
Install the recommended default kernel from [https://github.com/kata-containers/kata-containers/releases/download/3.28.0/kata-static-3.28.0-arm64.tar.zst]? [Y/n]: y
Installing kernel...
Check that the service is running:
container system statusoutput:
❯ container system status

FIELD              VALUE
status             running
appRoot            /Users/A93162639/Library/Application Support/com.apple.container/
installRoot        /usr/local/
logRoot
apiserver.version  container-apiserver version 1.0.0 (build: release, commit: ee848e3)
apiserver.commit   ee848e3ebfd7c73b04dd419683be54fb450b8779
apiserver.build    release
apiserver.appName  container-apiserver
Then list all containers:
container list --allAn empty table is fine. It means the service is running and you have not created any containers yet.
Test it with an Ubuntu shell
Now run your first Linux container and attach an interactive shell:
container run -it ubuntu:latest /bin/bashInside the container, try:
uname -a

cat /etc/os-release
You should see Linux system information and Ubuntu release details:
root@9bb5a5b9-40a6-4a55-8093-f76c7d70c8eb:/# uname -a
Linux 9bb5a5b9-40a6-4a55-8093-f76c7d70c8eb 6.18.15 #1 SMP Tue Mar 17 01:36:53 UTC 2026 aarch64 GNU/Linux

root@9bb5a5b9-40a6-4a55-8093-f76c7d70c8eb:/# cat /etc/os-release
PRETTY_NAME="Ubuntu 26.04 LTS"
NAME="Ubuntu"
VERSION_ID="26.04"
VERSION="26.04 LTS"
ID=ubuntu
ID_LIKE=debian
Your Ubuntu version and kernel version may differ depending on when you run the command. The important part is that you are inside a Linux environment running on your Mac.
Exit the container:
exit
Limit Resources: CPU - MEM
Another useful feature is when you want to limut resources, like CPU and Memory inside the apple container. You can simple do that by:
container run -it --cpus 2 --memory 2G ubuntu:latest /bin/bash
result:
root@e3beed8c-42f0-4aaa-8fc6-e1d8d969641f:/# top -bn1 -1
top - 21:03:33 up 0 min,  0 users,  load average: 0.06, 0.02, 0.00
Tasks:   2 total,   1 running,   1 sleeping,   0 stopped,   0 zombie
%Cpu0  :  0.0 us,  0.0 sy,  0.0 ni,100.0 id,  0.0 wa,  0.0 hi,  0.0 si,  0.0 st
%Cpu1  :  0.0 us,  0.0 sy,  0.0 ni,100.0 id,  0.0 wa,  0.0 hi,  0.0 si,  0.0 s
%Cpu2  :  0.0 us,  0.0 sy,  0.0 ni,100.0 id,  0.0 wa,  0.0 hi,  0.0 si,  0.0 st
MiB Mem :   2113.3 total,   1909.6 free,     71.0 used,    154.2 buff/cache       MiB Swap:      0.0 total,      0.0 free,      0.0 used.   2042.3 avail Mem

    PID USER      PR  NI    VIRT    RES    SHR S  %CPU  %MEM     TIME+ COMMAND
      1 root      20   0    5128   3808   3280 S   0.0   0.2   0:00.01 bash
      9 root      20   0    7060   4452   2548 R   0.0   0.2   0:00.00 top

root@e3beed8c-42f0-4aaa-8fc6-e1d8d969641f:/# grep -c ^processor /proc/cpuinfo
3

root@291ed90e-621e-460e-ae70-73f4befcb0a4:/# free
               total        used        free      shared  buff/cache   available
Mem:         2163972       68876     1959220           4      157972     2095096
Swap:              0           0           0
root@291ed90e-621e-460e-ae70-73f4befcb0a4:/#
root@291ed90e-621e-460e-ae70-73f4befcb0a4:/#
Now list running containers:
container listYou may see an empty table because the Ubuntu shell exited. To include stopped containers, run:
container list --allExample:
ID                                    IMAGE                            OS     ARCH   STATE    IP  CPUS  MEMORY   STARTED
9bb5a5b9-40a6-4a55-8093-f76c7d70c8eb  docker.io/library/ubuntu:latest  linux  arm64  stopped      4     1024 MB  2026-06-24T20:15:59Z
Build a “Hello, world” web server
Next, build a tiny Python web server image.
Create a new project directory:
mkdir hello-container
cd hello-container
Create a file called Dockerfile:
touch DockerfileOpen it in your editor and paste:
FROM docker.io/python:alpine

WORKDIR /app

RUN echo '<h1>Hello from Apple container!</h1>' > index.html

CMD ["python3", "-m", "http.server", "80"]
This image starts from a lightweight Python base image, creates a simple HTML page, and runs Python’s built-in web server on port 80.
Build the image
From the same directory as your Dockerfile, run:
container build --tag hello-web --file Dockerfile .The . at the end tells the builder to use the current directory as the build context. The command pulls the base image, runs the Dockerfile instructions, and tags the result as hello-web.
After your first build, you may see a builder container when you list containers. That is expected; container uses it to build images.
Run the web server
Start the container in the background:
container run --name my-site --detach --rm hello-webHere’s what the flags mean:
--name my-sitegives the container a friendly name.--detachruns it in the background.--rmautomatically removes the container when it stops.
List running containers:
container listLook for the IP address in the IP column. It may look something like this:
ID        IMAGE                                                OS     ARCH   STATE    IP               CPUS  MEMORY   STARTED
my-site   hello-web:latest                                     linux  arm64  running  192.168.64.4/24  4     1024 MB  2026-06-24T20:28:15Z
buildkit  ghcr.io/apple/container-builder-shim/builder:0.12.0  linux  arm64  running  192.168.64.3/24  2     2048 MB  2026-06-24T20:27:48Z
Open the site in your browser:
open http://192.168.64.4Replace 192.168.64.4 with the IP address shown on your machine.
You should see:
Hello from Apple container!
Optional: use localhost instead
If you prefer opening the site through localhost, publish the container port to your Mac. The container run command supports --publish / -p for mapping a container port to a host port.
Stop the current container first:
container stop my-siteThen run it again with port publishing:
container run --name my-site --detach --rm --publish 8080:80 hello-webOpen:
open http://localhost:8080This maps port 8080 on your Mac to port 80 inside the container.

View logs
To see what the web server is logging, run:
container logs my-siteYou should see HTTP request logs from Python’s web server.
result:
❯ container logs my-site
192.168.64.1 - - [24/Jun/2026 20:36:03] "GET / HTTP/1.1" 200 -
192.168.64.1 - - [24/Jun/2026 20:36:03] code 404, message File not found
192.168.64.1 - - [24/Jun/2026 20:36:03] "GET /favicon.ico HTTP/1.1" 404 -
Clean up
Stop the container:
container stop my-siteBecause you started it with --rm, container removes it automatically after it stops.
Check again:
container list --allThe my-site container should no longer appear.
That’s it,
Evaggelos!
I spent some time trying to connect a Yeelight Wireless Smart Dimmer to Home Assistant.
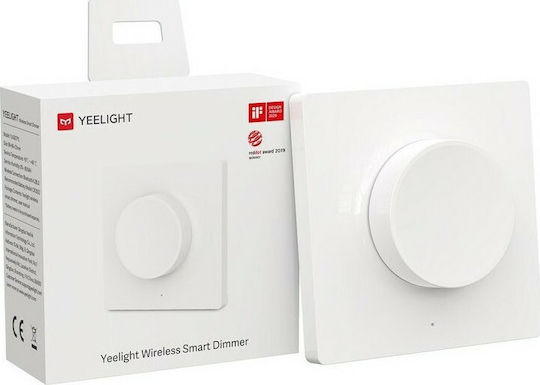
Disclaimer: This dimmer is compatible with Yeelight smart ceiling light series, Yeelight Crystal Pendant Lamp and Yeelight Smart Curtain Motor. Control the devices freely anytime and anywhere.
project page: Yeelight
YLKG07YL
The device I used is:
Dimmer Switch 2B0B
Model: YLKG07YL / YLKG08YL
Bluetooth name: yee-rc
Firmware: Xiaomi MiBeacon V3 encrypted
The goal was simple: use the Yeelight dimmer knob inside Home Assistant as I made a mistake buying it. I do not have a ceiling light but a few yeelight lamps. Thus I wanted to setup this dimmer to HA, so could use it to any device, to rotate it, to change brightness and press it to toggle a lamp or play a text to speech to my soundbar!
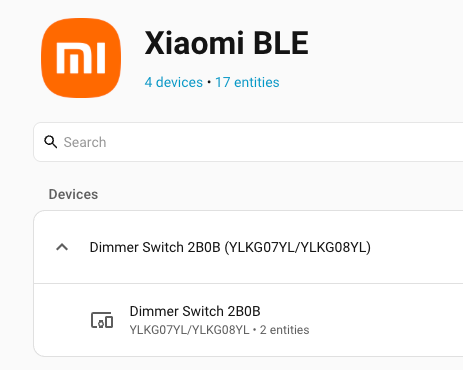
The final result works nicely with the Home Assistant Xiaomi BLE integration.
The project
The code I used is available here:
https://github.com/ebal/yeelight-dimmer-pythonThis repository is a fork, and contains a Python handler for the Yeelight YLKG07YL / YLKG08YL Bluetooth dimmer. It can receive, decrypt, and handle Bluetooth notifications from the dimmer. The repository README also shows how to run the demo script and retrieve the beacon_key, which is needed because the dimmer broadcasts encrypted sensor data. I forked the original project as my firmware version is newer than previous models and original project didnt work.d
Finding the dimmer
First, I scanned for Bluetooth LE devices.
sudo hcitool lescanor better, use bluetoothctl directly:
bluetoothctl scan onThe dimmer appeared as:
F8:24:41:C9:2B:0B yee-rcSo the MAC address of my dimmer was:
F8:24:41:C9:2B:0BGetting the beacon key
The Yeelight dimmer sends encrypted data, so Home Assistant needs a 24-character hexadecimal bindkey / beacon key.
The repository provides a demo script for this:
sudo python3 demo.py F8:24:41:C9:2B:0BWhen the script asks you to press the Pair button, press the small pairing button on the dimmer.
A successful run should print something like:
using mac F8:24:41:C9:2B:0B
! Press the "Pair" button at the dimmer...
Connecting... done
Authenticating.. done
beacon_key: xxxxxxxxxxxxxxxxxxxxxxxx
The beacon_key is the value that must be added to Home Assistant.
Adding it to Home Assistant
After getting the key, I added the dimmer through the Xiaomi BLE integration in Home Assistant.
Home Assistant detected it as a dimmer device. After that, I could use the 5 dimmer events in automations, such as:
Long Press
Press
Rotate Left
Rotate Left (Pressed)
Rotate Right
Rotate Right (Pressed)
Automations
to make it more interesting, here are some (random) automations:
Rotate right to increase brightness
When I rotate the dimmer to the right, I increase the brightness by 25.
alias: Dimmer_Rotate_Right
description: ""
triggers:
  - trigger: event.received
    target:
      device_id: defd42d5517df84480bc151db714a0d3
    options:
      event_type:
        - rotate_right
conditions: []
actions:
  - action: number.set_value
    target:
      entity_id: number.yeelink_de_470134772_colorb_brightness_with_zero_p_3_5
    data:
      value: >-
        {{
        [states('number.yeelink_de_470134772_colorb_brightness_with_zero_p_3_5')
        | float(0) + 25, 100] | min }}
mode: single
This reads the current brightness value, adds 25, and makes sure it does not go above 100.
Rotate left to decrease brightness
When I rotate the dimmer to the left, I decrease the brightness by 25.
alias: Dimmer_Rotate_Left
description: ""
triggers:
  - trigger: event.received
    target:
      device_id: defd42d5517df84480bc151db714a0d3
    options:
      event_type:
        - rotate_left
conditions: []
actions:
  - action: number.set_value
    target:
      entity_id: number.yeelink_de_470134772_colorb_brightness_with_zero_p_3_5
    data:
      value: >-
        {{
        [states('number.yeelink_de_470134772_colorb_brightness_with_zero_p_3_5')
        | float(0) - 25, 100] | min }}
mode: single
This works, but there should be some small improvements, to keep the brightness between 0 and 100.
I will update the blog post if needed in the future to fix this.
Press to toggle the lamp
Pressing the dimmer toggles the bedside lamp.
alias: Dimmer_Press
description: ""
triggers:
  - device_id: defd42d5517df84480bc151db714a0d3
    domain: xiaomi_ble
    type: dimmer
    subtype: press
    trigger: device
conditions: []
actions:
  - action: light.toggle
    metadata: {}
    target:
      entity_id: light.mibedsidelamp2_77c5_mijia_bedside_lamp_sw_auth
    data: {}
mode: single
This is the most useful automation for daily use: press the knob and the lamp turns on or off.
That’s it !
Evaggelos
I want a simple way to experiment with LLMs from my (very old) archlinux machine that has no GPU. OpenRouter provides a pay-as-you-go solution by selecting the model you want for the job you need. It’s quite easy and also provides some free models!
Important limitation
Free OpenRouter models usually have rate limits, availability limits, and sometimes slower routing. Some may disappear, change provider, or become temporarily unavailable. It’s not always reliable.
Running Open WebUI with OpenRouter Free Models
In this post we will build a simple local AI chat setup using Open WebUI, LiteLLM, and OpenRouter free models.
The goal is to have a clean web interface where we can chat with an OpenRouter model, while LiteLLM acts as a small proxy layer between Open WebUI and OpenRouter.
Disclaimer: You do not need LiteLLM. OpenRouter provides an OpenAI API. I am going to share both setups, as I use LiteLLM as a proxy for other use cases too.
The final architecture looks like this:
Browser
  -> Open WebUI
  -> OpenRouter
  -> Free LLM model
or with LiteLLM
Browser
  -> Open WebUI
  -> LiteLLM
  -> OpenRouter
  -> Free LLM model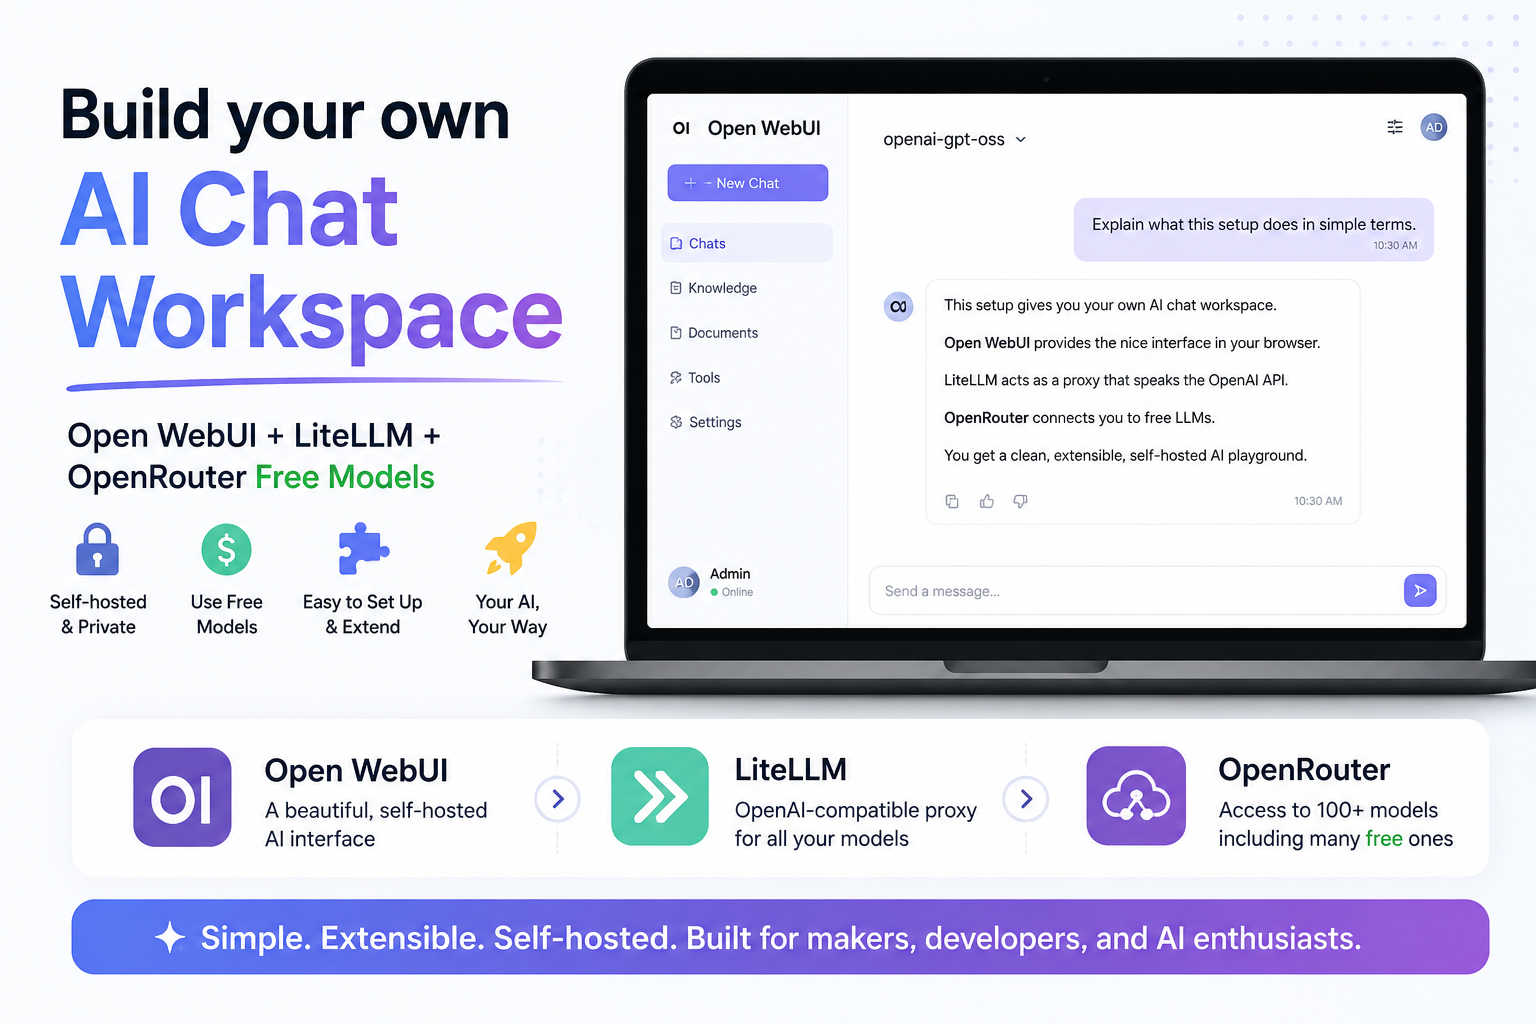
What are we building?
We are going to run two containers:
-
LiteLLM
A lightweight proxy that exposes an OpenAI-compatible API and forwards requests to OpenRouter or to any other LLM provider. -
Open WebUI
A self-hosted ChatGPT-like web interface that connects either to OpenRouter and/or to LiteLLM.
- Open WebUI will talk to OpenRouter in scenario A.
- Open WebUI will talk to LiteLLM, and LiteLLM will talk to OpenRouter in scenario B.
Requirements
You need:
- Docker
- Docker Compose
- An OpenRouter account
- An OpenRouter API key
You can create an API key from your OpenRouter account settings.
Project files
Create a new directory for the project:
mkdir openwebui
cd openwebui
Scenario A - OpenWebUI with OpenRouter
We will create a single docker compose file:
---
services:
  openwebui:
    image: ghcr.io/open-webui/open-webui:main-slim
    container_name: openwebui
    ports:
      - "8080:8080"
    volumes:
      - open-webui:/app/backend/data

volumes:
  open-webui:
In this scenario, I use Open WebUI slim edition.
Open WebUI provides a slim variant designed to reduce the initial container size by excluding pre-bundled AI models and heavy dependencies. Smaller initial size, but the first startup may take longer as the container downloads these necessary models.
Start OpenWebUI
Run:
docker compose -v up -dCheck that both containers are running:
docker compose -v psYou should see something like:
❯ docker compose -v ps -a

NAME      IMAGE                                    COMMAND          SERVICE    CREATED         STATUS   PORTS
openwebui ghcr.io/open-webui/open-webui:main-slim  "bash start.sh"  openwebui  31 minutes ago  Up 30 minutes (healthy)   0.0.0.0:8080->8080/tcp,  [::]:8080->8080/tcp
Setup OpenWebUI to OpeRouter
In bottom left, Go to:
Admin settings --> Settings --> Admin Settings --> Connections
Add OpenRouter as below
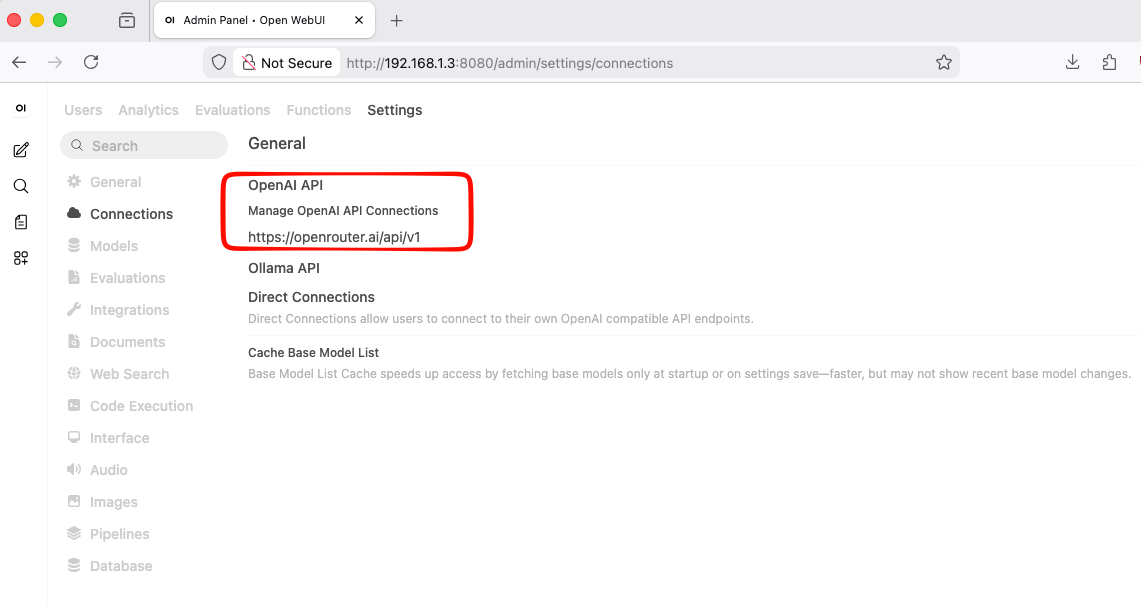
openwebui with openrouter
Scenario Β - OpenWebUI with LiteLLM to OpenRouter
We will create three files:
.env
docker-compose.yml
litellm_config.yaml
Environment file
Create a file named .env:
cat > .env <<'EOF'
OPENROUTER_API_KEY=sk-...
OPENROUTER_BASE_URL="https://openrouter.ai/api/v1"
OPENROUTER_MODEL="openrouter/openrouter/free"
OPENROUTER_MODEL_NAME="openrouter-free"
EOF
Replace this value with your real OpenRouter API key:
sk-...The simplest way to get free inference is with
openrouter/freewhich is a router that selects free models at random from the models available on OpenRouter.
LiteLLM configuration
Create litellm_config.yaml:
cat > litellm_config.yaml <<'EOF'
model_list:
  - model_name: os.environ/OPENROUTER_MODEL_NAME
    litellm_params:
      model: os.environ/OPENROUTER_MODEL
      api_base: os.environ/OPENROUTER_API_BASE
      api_key: os.environ/OPENROUTER_API_KEY
EOF
This file tells LiteLLM:
- expose a local model called
openrouter-free - forward requests to OpenRouter
- use the OpenRouter model defined in
.env - authenticate using the OpenRouter API key
So Open WebUI does not need to know the exact OpenRouter model name. It only talks to LiteLLM.
Docker Compose file
Create docker-compose.yml:
cat > docker-compose.yml <<'EOF'
---
services:

  litellm:
    image: docker.litellm.ai/berriai/litellm:main-latest
    container_name: litellm
    command: --config /app/config.yaml # --detailed_debug
    volumes:
      - ./litellm_config.yaml:/app/config.yaml:ro
    restart: unless-stopped
    env_file:
      - .env

  openwebui:
    image: ghcr.io/open-webui/open-webui:main-slim
    container_name: openwebui
    ports:
      - "8080:8080"
    volumes:
      - open-webui:/app/backend/data
    depends_on:
      litellm:
        condition: service_started

volumes:
  open-webui:

EOF
This starts two services.
docker compose -v up -dKeeping the same volume means that keeps your Open WebUI settings, users, and chat history even if the container is recreated.
Configure Open WebUI
Open your browser and go to the admin settings and configure the OpenAI-compatible connection.
Use this as the API base URL:
http://litellm:4000Depending on your Open WebUI version, it may ask for the full OpenAI-compatible base URL. In that case use:
http://litellm:4000/v1Test the setup
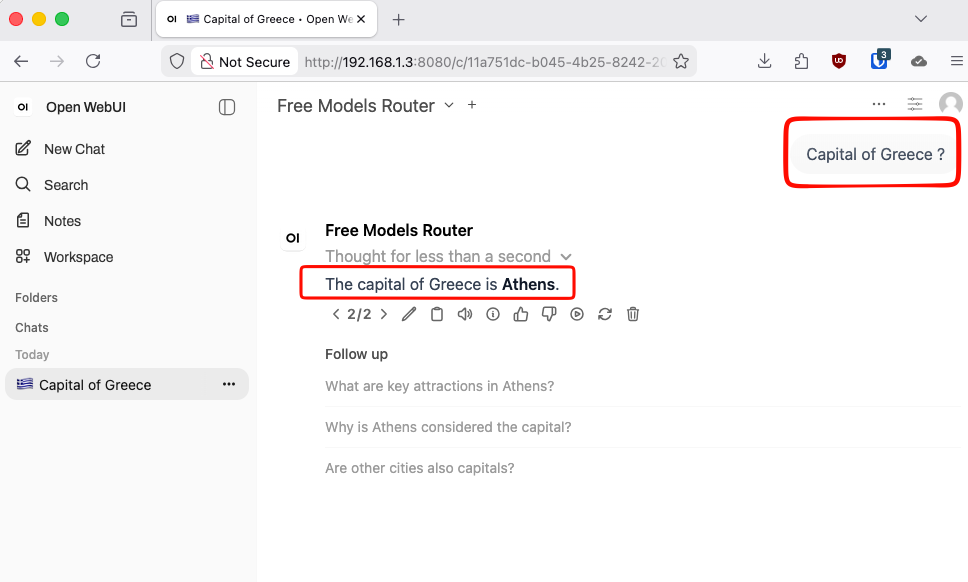
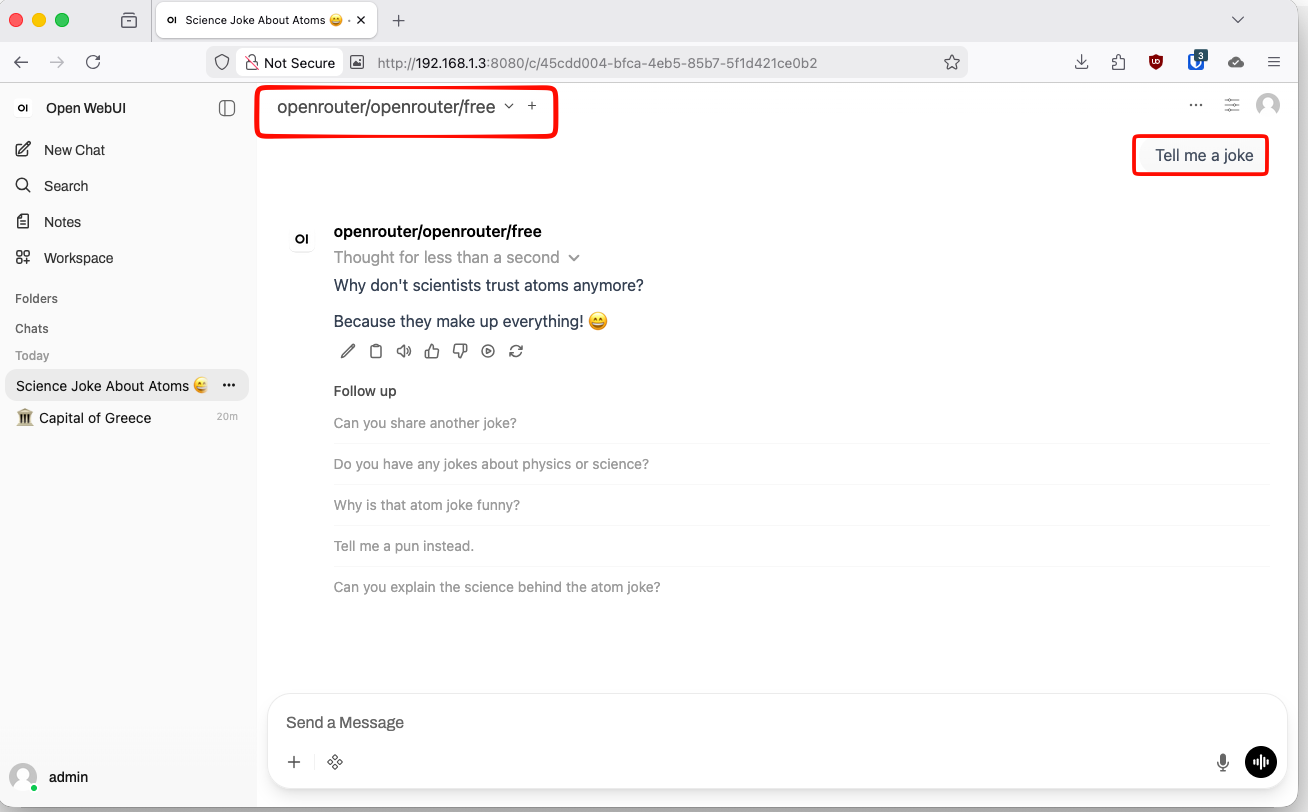
In Open WebUI, start a new chat. If everything is configured correctly, Open WebUI will send the message to LiteLLM, LiteLLM will forward it to OpenRouter, and the model response will appear in your browser.
The OpenRouter model does not respond
Free OpenRouter models can have rate limits, queueing, or temporary availability issues.
Try another free model from OpenRouter and update:
OPENROUTER_MODEL=openrouter/openai/gpt-oss-120b:freeThen restart:
docker compose restart litellmand check LiteLLM logs with:
docker compose logs -f litellmThat’s it !
Evaggelos