





Containers is an package application with all the files, libraries, and runtime it needs. They are a common way to develop, test, and deploy server software, most known are docker containers at the moment and in macOS the two most common tools: Docker desktop and OrbStack.
Apple’s container tool takes a different approach: it creates and runs Linux containers using lightweight virtual machines on Apple silicon Macs. It works with OCI-compatible images, so you can pull images from standard registries and build images that can run in other OCI-compatible tools.
This guide walks through installing container, starting the system service, running an Ubuntu shell, and building a simple “Hello, world” web server.
What you need
- A Mac with Apple silicon: M1, M2, M3, M4, or newer
- macOS 26
- Administrator access to install the tool
Apple supports container on macOS 26 because it depends on newer virtualization and networking features. Older macOS versions may work for some workflows, but they are not officially supported. Command availability can also vary by macOS version.
Install container
Download the latest signed installer from the Apple container GitHub releases page:
https://github.com/apple/container/releases
Open the .pkg file and follow the installer prompts.
follow the below instracturions
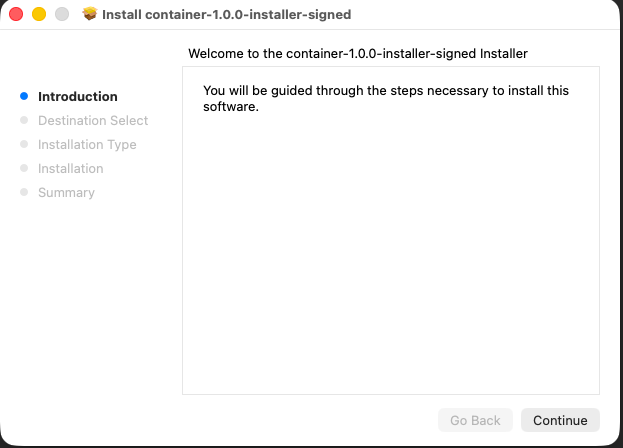
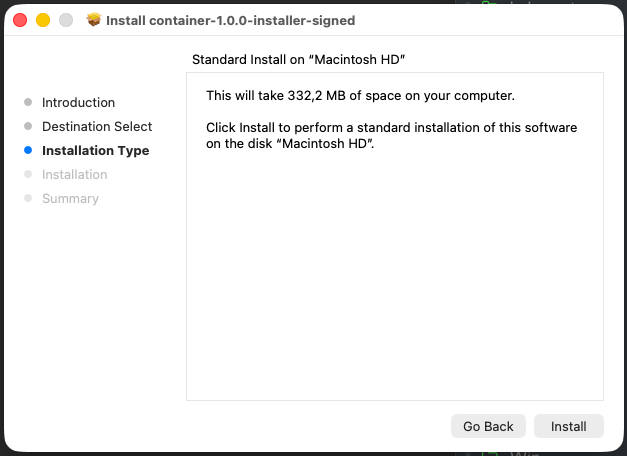
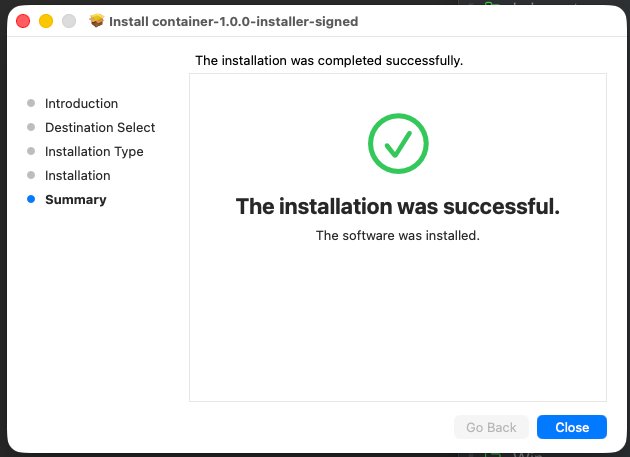
After installation, open Terminal and start the system service:
container system startThe first time you run this command, container may ask whether you want to install a recommended Linux kernel. Type y and press Enter.
Example output:
❯ container system start

Launching container-apiserver...
Testing access to container-apiserver...
Verifying machine API server is running...
No default kernel configured.
Install the recommended default kernel from [https://github.com/kata-containers/kata-containers/releases/download/3.28.0/kata-static-3.28.0-arm64.tar.zst]? [Y/n]: y
Installing kernel...
Check that the service is running:
container system statusoutput:
❯ container system status

FIELD              VALUE
status             running
appRoot            /Users/A93162639/Library/Application Support/com.apple.container/
installRoot        /usr/local/
logRoot
apiserver.version  container-apiserver version 1.0.0 (build: release, commit: ee848e3)
apiserver.commit   ee848e3ebfd7c73b04dd419683be54fb450b8779
apiserver.build    release
apiserver.appName  container-apiserver
Then list all containers:
container list --allAn empty table is fine. It means the service is running and you have not created any containers yet.
Test it with an Ubuntu shell
Now run your first Linux container and attach an interactive shell:
container run -it ubuntu:latest /bin/bashInside the container, try:
uname -a

cat /etc/os-release
You should see Linux system information and Ubuntu release details:
root@9bb5a5b9-40a6-4a55-8093-f76c7d70c8eb:/# uname -a
Linux 9bb5a5b9-40a6-4a55-8093-f76c7d70c8eb 6.18.15 #1 SMP Tue Mar 17 01:36:53 UTC 2026 aarch64 GNU/Linux

root@9bb5a5b9-40a6-4a55-8093-f76c7d70c8eb:/# cat /etc/os-release
PRETTY_NAME="Ubuntu 26.04 LTS"
NAME="Ubuntu"
VERSION_ID="26.04"
VERSION="26.04 LTS"
ID=ubuntu
ID_LIKE=debian
Your Ubuntu version and kernel version may differ depending on when you run the command. The important part is that you are inside a Linux environment running on your Mac.
Exit the container:
exit
Limit Resources: CPU - MEM
Another useful feature is when you want to limut resources, like CPU and Memory inside the apple container. You can simple do that by:
container run -it --cpus 2 --memory 2G ubuntu:latest /bin/bash
result:
root@e3beed8c-42f0-4aaa-8fc6-e1d8d969641f:/# top -bn1 -1
top - 21:03:33 up 0 min,  0 users,  load average: 0.06, 0.02, 0.00
Tasks:   2 total,   1 running,   1 sleeping,   0 stopped,   0 zombie
%Cpu0  :  0.0 us,  0.0 sy,  0.0 ni,100.0 id,  0.0 wa,  0.0 hi,  0.0 si,  0.0 st
%Cpu1  :  0.0 us,  0.0 sy,  0.0 ni,100.0 id,  0.0 wa,  0.0 hi,  0.0 si,  0.0 s
%Cpu2  :  0.0 us,  0.0 sy,  0.0 ni,100.0 id,  0.0 wa,  0.0 hi,  0.0 si,  0.0 st
MiB Mem :   2113.3 total,   1909.6 free,     71.0 used,    154.2 buff/cache       MiB Swap:      0.0 total,      0.0 free,      0.0 used.   2042.3 avail Mem

    PID USER      PR  NI    VIRT    RES    SHR S  %CPU  %MEM     TIME+ COMMAND
      1 root      20   0    5128   3808   3280 S   0.0   0.2   0:00.01 bash
      9 root      20   0    7060   4452   2548 R   0.0   0.2   0:00.00 top

root@e3beed8c-42f0-4aaa-8fc6-e1d8d969641f:/# grep -c ^processor /proc/cpuinfo
3

root@291ed90e-621e-460e-ae70-73f4befcb0a4:/# free
               total        used        free      shared  buff/cache   available
Mem:         2163972       68876     1959220           4      157972     2095096
Swap:              0           0           0
root@291ed90e-621e-460e-ae70-73f4befcb0a4:/#
root@291ed90e-621e-460e-ae70-73f4befcb0a4:/#
Now list running containers:
container listYou may see an empty table because the Ubuntu shell exited. To include stopped containers, run:
container list --allExample:
ID                                    IMAGE                            OS     ARCH   STATE    IP  CPUS  MEMORY   STARTED
9bb5a5b9-40a6-4a55-8093-f76c7d70c8eb  docker.io/library/ubuntu:latest  linux  arm64  stopped      4     1024 MB  2026-06-24T20:15:59Z
Build a “Hello, world” web server
Next, build a tiny Python web server image.
Create a new project directory:
mkdir hello-container
cd hello-container
Create a file called Dockerfile:
touch DockerfileOpen it in your editor and paste:
FROM docker.io/python:alpine

WORKDIR /app

RUN echo '<h1>Hello from Apple container!</h1>' > index.html

CMD ["python3", "-m", "http.server", "80"]
This image starts from a lightweight Python base image, creates a simple HTML page, and runs Python’s built-in web server on port 80.
Build the image
From the same directory as your Dockerfile, run:
container build --tag hello-web --file Dockerfile .The . at the end tells the builder to use the current directory as the build context. The command pulls the base image, runs the Dockerfile instructions, and tags the result as hello-web.
After your first build, you may see a builder container when you list containers. That is expected; container uses it to build images.
Run the web server
Start the container in the background:
container run --name my-site --detach --rm hello-webHere’s what the flags mean:
--name my-sitegives the container a friendly name.--detachruns it in the background.--rmautomatically removes the container when it stops.
List running containers:
container listLook for the IP address in the IP column. It may look something like this:
ID        IMAGE                                                OS     ARCH   STATE    IP               CPUS  MEMORY   STARTED
my-site   hello-web:latest                                     linux  arm64  running  192.168.64.4/24  4     1024 MB  2026-06-24T20:28:15Z
buildkit  ghcr.io/apple/container-builder-shim/builder:0.12.0  linux  arm64  running  192.168.64.3/24  2     2048 MB  2026-06-24T20:27:48Z
Open the site in your browser:
open http://192.168.64.4Replace 192.168.64.4 with the IP address shown on your machine.
You should see:
Hello from Apple container!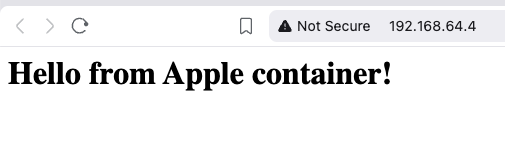
Optional: use localhost instead
If you prefer opening the site through localhost, publish the container port to your Mac. The container run command supports --publish / -p for mapping a container port to a host port.
Stop the current container first:
container stop my-siteThen run it again with port publishing:
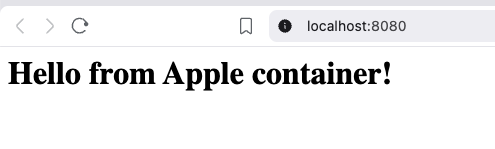
container run --name my-site --detach --rm --publish 8080:80 hello-webOpen:
open http://localhost:8080This maps port 8080 on your Mac to port 80 inside the container.
View logs
To see what the web server is logging, run:
container logs my-siteYou should see HTTP request logs from Python’s web server.
result:
❯ container logs my-site
192.168.64.1 - - [24/Jun/2026 20:36:03] "GET / HTTP/1.1" 200 -
192.168.64.1 - - [24/Jun/2026 20:36:03] code 404, message File not found
192.168.64.1 - - [24/Jun/2026 20:36:03] "GET /favicon.ico HTTP/1.1" 404 -
Clean up
Stop the container:
container stop my-siteBecause you started it with --rm, container removes it automatically after it stops.
Check again:
container list --allThe my-site container should no longer appear.
That’s it,
Evaggelos!